

2001-2007 Toyota Sequoia Console Guide: Center vs. Overhead Issues
This guide clarifies the common problems, compatibility differences, and repair advice for the two distinct console types found in the first-generation Toyota Sequoia.
- There are two distinct parts: the floor-mounted 'Center Console' and the roof-mounted 'Overhead Console'.
- The most common failures are mechanical: broken center console latches and jammed overhead sunglass holders.
- Compatibility is critical. When buying a used center console, you must match it to your vehicle's year, trim, and options like rear audio/entertainment.
- Replacement for both consoles is a simple DIY task, typically requiring only a screwdriver and a 10mm socket.
Center Console vs. Overhead Console: Know The Difference

When discussing the 'console panel' on a 2001-2007 Toyota Sequoia, it's important to distinguish between two different parts: the Center Console on the floor between the front seats and the Overhead Console mounted to the headliner. Both serve different purposes and have their own unique issues and replacement considerations.
Center Console Assembly (2001-2007)


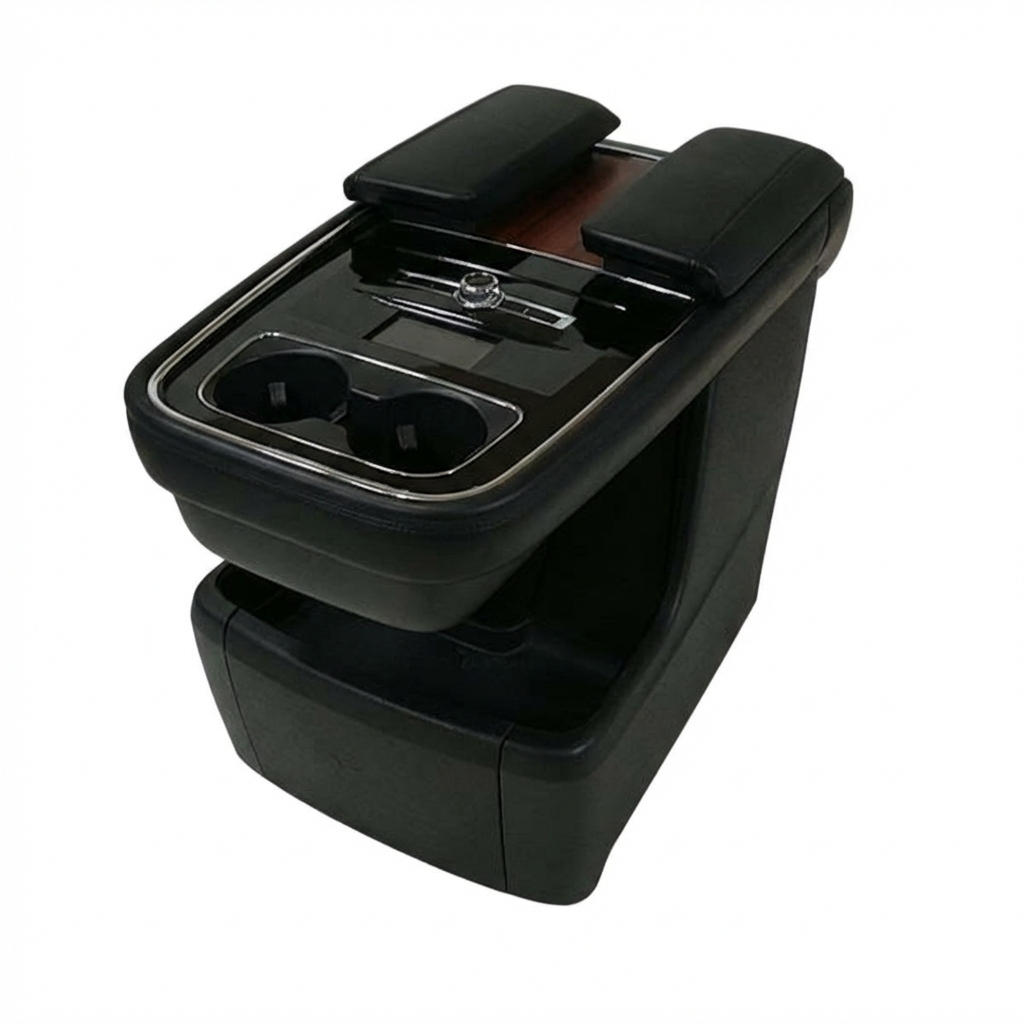
The center console is the large storage box and armrest between the driver and passenger seats. It's a high-contact area, making it prone to physical wear and damage.
Most Common Symptoms of Failure
- Broken Latch: The most frequent complaint. The latch that secures the armrest lid breaks, causing the lid to no longer stay closed. The latch mechanism can be purchased separately.
- Cracked Lid or Hinge: Years of being leaned on can cause the plastic lid or its hinges to crack, making it difficult to open or close.
- Worn or Torn Armrest: The upholstery on the armrest (cloth or leather) can tear, crack, or become compressed and uncomfortable over time.
- Broken Cup Holder Mechanism: The slide-out or pop-out cup holders can jam or break from use.
Center Console Compatibility & Variants
Compatibility is the biggest challenge when buying a used center console. You must match the replacement part to your Sequoia's specific trim and options. Pay close attention to:
- Trim Level: SR5 and Limited models often had different console designs and materials.
- Seat Configuration: This guide applies to models with front bucket seats, not a front bench seat.
- Rear Audio Controls (2003-2007): Some consoles have cutouts and wiring for rear passenger audio controls. A console without this feature will not work in a truck that has it, and vice-versa.
- Rear Entertainment System (2005-2007): Models with a factory rear DVD system had a specific console configuration.
- Color: Consoles came in several interior colors like gray, tan (oak), and charcoal.
Warning: Before ordering, always verify if your vehicle has rear audio or entertainment system controls in the console. A mismatch will result in features not working or the console not fitting correctly.
Overhead Console Assembly (2001-2007)
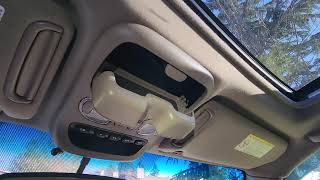
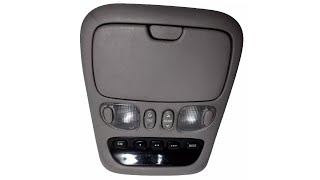
The overhead console houses the map lights and a sunglass holder. While less prone to heavy wear than the center console, its plastic components can become brittle.
Most Common Symptoms of Failure
- Jammed or Broken Sunglass Holder: This is a very common issue. The spring-loaded door can get jammed if sunglasses shift inside, or the small plastic hinge/latch points can break, causing the door to not stay closed or open at all.
- Malfunctioning Map Light Buttons: The internal springs and plastic contacts for the map light buttons can wear out or break, causing the lights to be stuck on or off.
- Cracked Housing: The plastic can become brittle from age and heat, leading to cracks, especially around the screw mounts.
Overhead Console Compatibility & Variants
Overhead console compatibility is generally simpler than the center console, but key differences exist:
- Sunroof vs. No Sunroof: Vehicles with a factory sunroof have a different-shaped overhead console to accommodate the sunroof controls.
- Trip Computer Display: Most consoles include a small screen for the trip computer (temperature, compass, etc.). Ensure the replacement has the same display or it may not communicate with your vehicle's sensors.
Pro Tip: If your sunglass holder is jammed, you can often fix it by removing the entire overhead console. It's typically held in by two Phillips screws (visible when the sunglass door is open) and a few clips. Once removed, you can often shake the console to dislodge the glasses.
🎬 Watch: How to fix a stuck or jammed sunglass holderBuying a Used Sequoia Console: What to Check

A used OEM console is often the best value, as new units can be extremely expensive or discontinued. When buying used, inspect the following:
- All Mounting Points: Check for broken or cracked plastic tabs and screw holes. This is critical for a rattle-free installation.
- Hinges and Latches: For center consoles, open and close the lid repeatedly. Check the main latch and the internal compartment latches. For overhead consoles, test the sunglass door spring and latch.
- Wiring and Connectors: Ensure all wiring harnesses and connector plugs are intact, with no cut wires or damaged pins.
- Physical Condition: Look for deep scratches, sun fading, and upholstery damage. What you see is what you get, so check photos carefully if buying online.
Known Issues, TSBs, and Recalls
There are no major recalls or Technical Service Bulletins (TSBs) specifically for the plastic console components themselves. However, the center console must be removed to access the Yaw Rate and Deceleration Sensor, which is a known failure point on first-generation Sequoias and can cause VSC/ABS lights to appear. If you are replacing your console, it may be a good time to inspect this sensor's bracket.
Cost & Replacement Info
Replacing these consoles is a straightforward DIY job for most owners.
Center Console
- Installation Difficulty: 2/5 (Requires basic hand tools)
- Tools Needed: Phillips screwdriver, 10mm socket wrench.
- Process: Removal typically involves removing screws from inside the console box and potentially at the front and rear of the base before lifting the entire assembly out.
Overhead Console
- Installation Difficulty: 1/5 (Very easy)
- Tools Needed: Phillips screwdriver, plastic trim tool (optional).
- Process: Usually involves removing two screws inside the sunglass holder area and then gently prying the console down to release retaining clips. 🎬 See this walkthrough for removing and replacing the overhead console
| Part | New OEM | New Aftermarket | Used OEM |
|---|---|---|---|
| Center Console Assembly | $600 - $900+ (Many parts discontinued) | $240+ (Limited availability) | $125 - $300 |
| Overhead Console Assembly | $300+ (Varies by options) | N/A | $50 - $150 |
| Center Console Latch | $30 - $40 | $25+ | N/A (Typically sold with console lid) |
Frequently Asked Questions (FAQ)
Can I swap a console from a Limited trim into my SR5?
Possibly, but it is not a direct plug-and-play swap. You must ensure that features like rear audio or entertainment controls match. If your SR5 does not have these features, the wiring will not be present to make the Limited console's features work.
How do I fix just the broken center console latch?
You can purchase the latch mechanism as a separate part. Replacement is simple and involves removing a few screws from the underside of the console lid to swap out the broken latch assembly.
My overhead map lights won't click on/off. Is the whole console bad?
Not necessarily. A common cause is a small spring inside the switch mechanism breaking or falling out. It is sometimes possible to disassemble the console and repair the switch with a new spring (some owners have successfully used a spring from a ballpoint pen), saving the cost of a full replacement.
How do I remove the center console to get to the electronics underneath?
You'll typically start by emptying the console and removing any mats. Look for screws at the bottom. Then, remove the trim piece around the shifter by gently prying it up. This will expose more bolts holding the console to the floor. The entire assembly can then be lifted up and back.
🎬 Watch: Step-by-step guide to removing the center dash and consoleHelpful Videos
Technical Specifications
OEM Part Numbers: 58804-0C010 58804-0C022-B0 58810-0C011-B0 58910-0C011-B0 58910-0C040-E0 63650-0C031-B0 58971-0C031
N/A
We Have This Part in Stock



The information in this article is provided for general reference and educational purposes only. Vehicle specifications, procedures, and part compatibility can vary by production date, trim level, and region. Always consult your vehicle's factory service manual and verify part numbers before purchasing or performing repairs. Safety-critical components such as airbags, seat belts, and braking systems should be installed by a qualified professional.
- Toyota Sequoia:
- 🎬 Helpful Videos
- 🛍️ Shop This Part
- Center Console vs. Overhead Console: Know The Difference
- Center Console Assembly (2001-2007)
- Most Common Symptoms of Failure
- Center Console Compatibility & Variants
- Overhead Console Assembly (2001-2007)
- Most Common Symptoms of Failure
- Overhead Console Compatibility & Variants
- Buying a Used Sequoia Console: What to Check
- Known Issues, TSBs, and Recalls
- Cost & Replacement Info
- Center Console
- Overhead Console
- Frequently Asked Questions (FAQ)
- 🎟️ Get 5% Off