

2011-2012 Hyundai Veracruz Console: A Guide to Options, Wear Points, and Replacement
This guide covers the common physical failures, critical compatibility checks, and replacement process for the 2011-2012 Veracruz center console assembly.
- Compatibility is critical: You must match the console to your Veracruz's trim (Limited), options (NO rear entertainment, with/without heated seats), and color.
- The armrest latch and the plastic mounting tabs are the most common failure points; inspect these carefully on any used unit.
- Replacement is a straightforward DIY job, but removing the press-fit shift knob requires significant upward force after releasing its lower collar.
- There are no direct recalls on the console, but be aware of major fire-risk recalls for the ABS module (23V651000) and oil leaks onto the alternator (20V705000) for this vehicle.
Symptoms of a Failing or Broken Console Panel
Since the center console is primarily a physical and cosmetic part, most failures are visible or tactile. Here are the most common symptoms indicating you might need a replacement.
- Broken Armrest Latch: The most frequent point of failure is the plastic latch that secures the armrest lid. It may crack or break off completely, preventing the lid from staying closed and causing it to rattle while driving. 🎬 Watch: See a demonstration of a broken armrest latch.
- Cracked or Peeling Finish: The trim pieces, especially the shifter bezel and the gray or woodgrain surfaces, can become scratched, peel, or crack from sun exposure and regular use.
- Worn Armrest Upholstery: The leather or vinyl on the armrest can crack, tear, or become compressed and uncomfortable from years of use.
- Malfunctioning Switches or Ports: The integrated heated seat switches, 12V power outlets, or the AUX/USB port assembly can fail. Sometimes the port assembly can break loose from its mounts and fall into the console cavity.
- Broken Mounting Points: The plastic tabs and screw bosses that hold the console to the vehicle floor can break, leading to a loose-fitting console that squeaks, rattles, or shifts.
Pro Tip: A broken armrest latch is a very common issue. While some owners attempt to fix it with magnets or by replacing just the small latch mechanism, it often requires disassembling the armrest lid, which can be tricky. Often, replacing the entire armrest assembly or the complete used console is a more durable and straightforward repair.
Buying a Used 2011-2012 Veracruz Console: What to Check
Sourcing a used OEM console is the most cost-effective way to restore your interior. However, careful verification is essential to ensure you get a part that fits and functions correctly. The Veracruz had several console variations.
1. Critical Compatibility Checks
Before you buy, confirm your vehicle's exact configuration. A console from a differently-optioned vehicle will not work without significant modification.
- Trim Level (Limited vs. GLS): The initial buyer warnings indicate this console fits Limited trim models. This is likely due to features like heated seats and specific trim finishes (e.g., woodgrain vs. metallic gray) that were standard on the Limited. Always match the console to your vehicle's trim level.
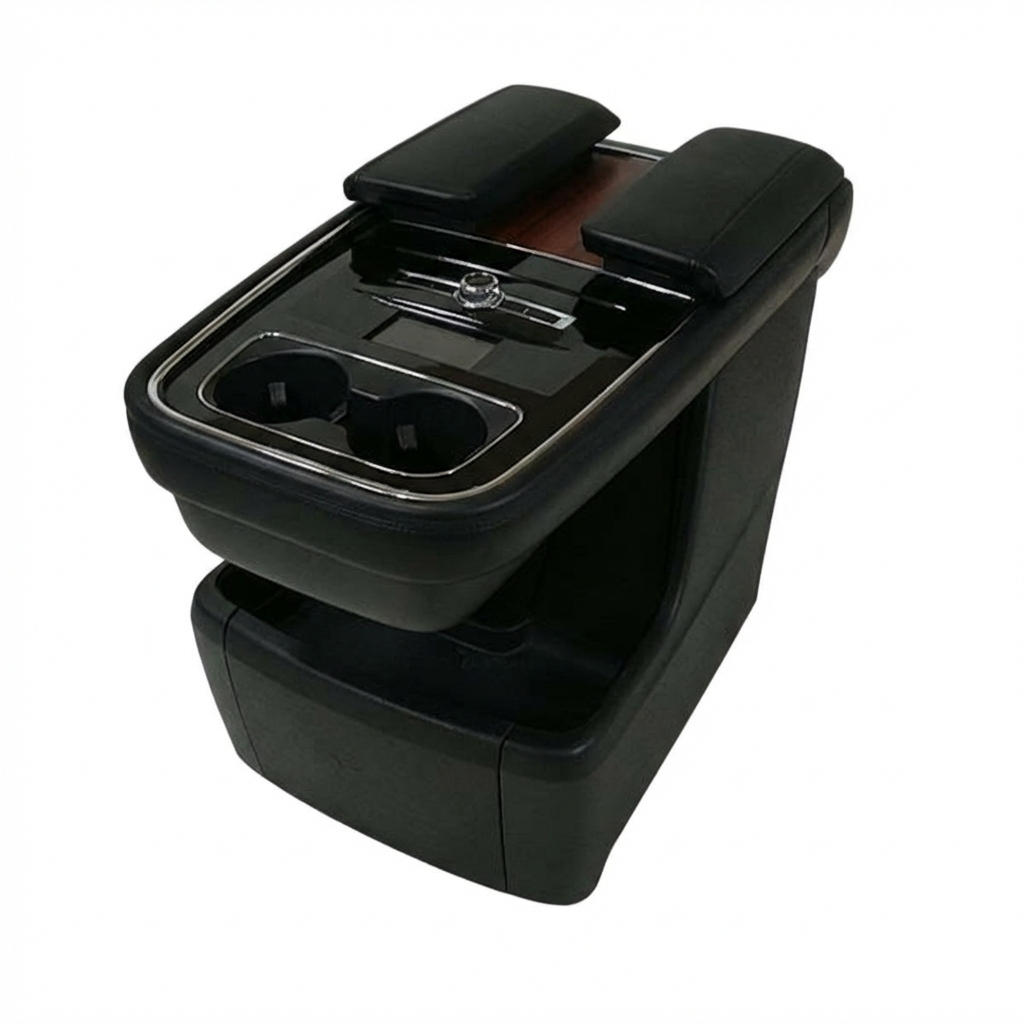
- Rear Entertainment System (RES): The console is different for vehicles with and without the factory rear entertainment system. Consoles for vehicles without RES are the subject of this guide and will have a simple back panel, possibly with a small storage cubby or vents. Consoles for vehicles with RES will have audio/video inputs and controls on the back.
- Heated Seats: Verify if your Veracruz has heated front seats. If it does, the replacement console must have the corresponding switches and wiring connectors.
- Color: Consoles came in several colors, including gray, beige, and black. Ensure the color of the used part matches your vehicle's interior to avoid a mismatched look.
Warning: Do not assume a console from another year within the 2007-2012 range will fit perfectly without checking the options. While the core structure is similar, changes to electronics and features occurred. Stick to the 2011-2012 model years for the best chance of a direct fit.
2. Physical Inspection Checklist
- Armrest Hinge and Latch: Open and close the armrest multiple times. Check for cracks in the plastic around the hinge pins and confirm the latch clicks shut securely.
- All Mounting Tabs: Flip the console over and carefully inspect every screw hole and plastic clip. Broken tabs are a deal-breaker, as they will cause the console to be loose and rattle.
- Shifter Bezel Area: Check for cracks around the shifter opening, as this area is under stress.
- Wiring Harness: Ensure the electrical connectors for the switches and power ports are intact and that no wires have been cut. A cleanly unplugged harness is a sign of a careful removal.
Known Issues, TSBs, and Recalls
There are no recalls or Technical Service Bulletins (TSBs) issued by Hyundai or the NHTSA that specifically address the center console assembly itself. However, anyone working in this area of the vehicle should be aware of several major recalls for the 2011-2012 Veracruz:
- NHTSA Recall 23V651000: This significant recall involves the Anti-Lock Brake System (ABS) module, which can leak brake fluid internally and cause an electrical short, leading to a risk of fire while parked or driving. Owners are advised to park outside until the repair, which involves replacing the ABS fuse, is completed.
- NHTSA Recall 20V705000 (and 14V415): This recall addresses an oil leak from the front cylinder bank valve cover gasket. The leaking oil can drip onto the alternator, causing the charging system to fail and potentially leading to an engine stall.
- NHTSA Recall 13V113000: A malfunctioning stop lamp switch could prevent the brake lights from illuminating or prevent the cruise control from deactivating.
While these recalls do not directly involve the console, the ABS module is located in the engine bay and the related wiring runs through the vehicle's interior, making awareness important during any electrical work.
Replacement Overview & Difficulty
- Difficulty: 2 out of 5
- Time: 1-1.5 hours
Replacing the center console is a manageable DIY project for someone with basic tools. The process mainly involves removing trim pieces, unscrewing bolts, and disconnecting wires. Using plastic trim removal tools is highly recommended to avoid scratching interior panels.
High-Level Replacement Steps:
- Disconnect the Battery: As a safety precaution, always disconnect the negative battery terminal before working on interior components with electrical connections.
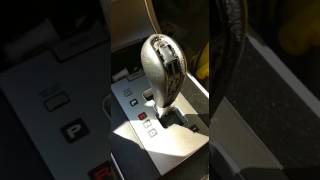
- Remove the Shift Knob: On the Veracruz, this can be tricky. Pry the top decorative piece off the knob, then use a tool to push the plastic collar at the base of the knob downwards. With the collar released, the knob pulls straight up with significant force. It does not unscrew. 🎬 Watch: How to remove the gear shift knob.
- Pry Up the Shifter Bezel/Upper Console Trim: Start from the rear corners near the cupholders and carefully pry the upper trim panel upwards to release the clips.
- Disconnect Electrical Connectors: Once the upper panel is loose, you can access and unplug the connectors for the heated seats, power outlets, and AUX/USB ports.
- Remove Mounting Screws: Look for screws inside the main storage bin and potentially on the sides of the console base.
- Remove the Console Assembly: With all screws and connectors removed, the entire console assembly can be lifted out of the vehicle.
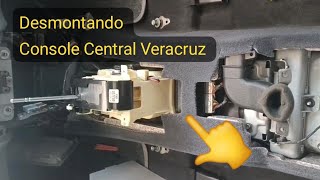
- Installation: Installation is the reverse of removal. Ensure all connectors are securely plugged in and test all functions before fully reassembling the trim. 🎬 Watch: Step-by-step guide to dismantling the center console.
Cost Comparison
The cost to replace a 2011-2012 Veracruz console varies significantly between new OEM, used OEM, and professional installation.
| Part Source | Estimated Cost |
|---|---|
| New OEM | $950 - $1,800+ |
| New Aftermarket | Not Typically Available |
| Used OEM | $150 - $400 |
| Shop Labor | $120 - $250 |
OEM Part Number Reference
The center console is an assembly of multiple parts. The numbers below were found for the 2007-2012 Veracruz and should be used as a reference. Always verify the exact part number with a dealer using your VIN.
- Front Console / Base: 84610-3J000-6T
- Console Upper Cover: 84650-3J471-WS (Often specified as 'with heated seat')
- Armrest Assembly: 84660-3J100-6T, 84660-3J200-6T
- Rear Console Trim Panel: 84690-3J450-6T
Frequently Asked Questions (FAQ)
Can I just replace the broken armrest latch?
Yes, the latch itself is available as a separate part and can be replaced. However, the process requires prying apart the armrest lid assembly to access the screws and the latch mechanism, which can be difficult without breaking the plastic tabs. For many, replacing the entire armrest lid or the complete used console is an easier repair.
Will a console from a 2009 Veracruz fit my 2011 model?
Physically, it might bolt in, as the body style was the same from 2007-2012. However, there could be differences in the wiring connectors, the type of AUX/USB ports, or the finish of the trim. It is safest to source a console from a 2011-2012 model that has the exact same options as your vehicle.
My USB/AUX port stopped working. Is it a fuse or the console?
It could be either. First, check the fuse panel for a blown fuse related to the power outlets or multimedia system. If the fuses are good, the port assembly itself may have failed or the connector may have come loose. In some cases, the plastic mounts for the port break, and it falls down inside the console. You will need to remove the upper console trim to inspect the wiring and the port itself.
How can I repair a scratched or peeling console finish?
For minor scratches, you may be able to use a plastic polish or interior detailer to hide them. For peeling or deeply damaged trim, the best solutions are to either replace the affected trim piece, wrap the piece in automotive vinyl for a new look, or find a complete used console in better condition.
Helpful Videos
Technical Specifications
OEM Part Numbers: 84610-3J000-6T 846103J0006T 84650-3J471-WS 846503J471WS 84660-3J100-6T 84660-3J200-6T 846603J1006T 84690-3J450-6T 846903J4506T
Fitment is specific to trim levels (Limited) and options (without rear entertainment system, with/without heated seats).
We Have This Part in Stock


The information in this article is provided for general reference and educational purposes only. Vehicle specifications, procedures, and part compatibility can vary by production date, trim level, and region. Always consult your vehicle's factory service manual and verify part numbers before purchasing or performing repairs. Safety-critical components such as airbags, seat belts, and braking systems should be installed by a qualified professional.
- Hyundai Veracruz:
- 🎬 Helpful Videos
- 🛍️ Shop This Part
- Symptoms of a Failing or Broken Console Panel
- Buying a Used 2011-2012 Veracruz Console: What to Check
- 1. Critical Compatibility Checks
- 2. Physical Inspection Checklist
- Known Issues, TSBs, and Recalls
- Replacement Overview & Difficulty
- High-Level Replacement Steps:
- Cost Comparison
- OEM Part Number Reference
- Frequently Asked Questions (FAQ)
- 🎟️ Get 5% Off