

2009-2017 Genesis & G80 Console Guide: Overhead vs. Center Console Issues
From failing map lights in the overhead console to peeling trim on the center console, here's how to diagnose, buy, and replace the right panel for your sedan.
- "Console Panel" refers to two distinct areas: the overhead console (map lights) and the center console (shifter, armrest). Identify which part you need before buying.
- For the overhead console, the most critical compatibility factor is matching the sunroof vs. non-sunroof configuration.
- For center console parts, peeling trim is the most common problem. Inspect used parts carefully for cosmetic condition and match all option buttons exactly.
- Replacing the overhead console is a simple DIY task (1/5 difficulty), while replacing the entire center console assembly is much more complex (3/5 difficulty).
Understanding 'Console Panel' on Your Genesis

When searching for a 'console panel' for a 2009-2016 Hyundai Genesis or a 2017 Genesis G80, it's important to know which part you need. The term is broad and covers two separate locations in the vehicle with very different functions and failure points. This guide is split into two sections to help you identify and solve problems with either the overhead console or the various parts that make up the center console.
Part 1: The Overhead Console (Map Light Console)

The overhead console is the unit mounted to the ceiling that contains your map lights and sunroof switch. Failures here are typically electrical or mechanical and are relatively simple to address.
Common Failure Symptoms
- Map lights or dome lights flicker, work intermittently, or don't turn on at all.
- Buttons for the lights or sunroof become unresponsive.
- The sunglass holder door latch breaks, causing it to stay open or not open at all.
- The plastic housing or light lenses are cracked or have yellowed over time.
Known Issues & Variants
The single most important variation for the overhead console is whether your vehicle is equipped with a sunroof. The console for a car with a sunroof has a large switch and different internal wiring than one without a sunroof. They are not interchangeable.
Warning: You must order an overhead console that matches your vehicle's sunroof option and interior color (e.g., beige, gray, black). Part numbers often vary based on color.
Buying a Used Overhead Console
Buying a used overhead console is a great way to save money. Here’s what to check:
- Sunroof Switch: Double-check that the console either has or does not have the sunroof switch, matching your car's configuration.
- Sunglass Holder: Test the sunglass holder door. The spring-loaded latch is a common point of failure. Ensure it opens and closes securely.
- Physical Condition: Inspect the plastic for any cracks, especially around the mounting points. Check that the light lenses are clear and not broken.
- Part Numbers: If possible, match the part number from your old unit. Part numbers like 92810-B1020-VYC (ivory, with sunroof) or 92800-3M500-TX specify the exact configuration.
Overhead Console Replacement
Replacing the overhead console is a straightforward DIY job.
- Difficulty: 1/5
- Time: 15-30 minutes
- Tools: Plastic trim removal tool, possibly a Phillips head screwdriver.
- Process: Typically, the console is held in by clips and sometimes two screws hidden behind the sunglass holder or a small cover. Gently pry the console down with a trim tool, disconnect the electrical connector(s), and remove it. Installation is the reverse of removal.
Part 2: The Center Console Components

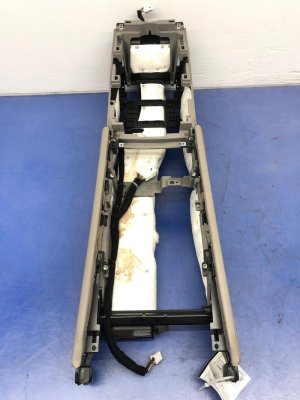
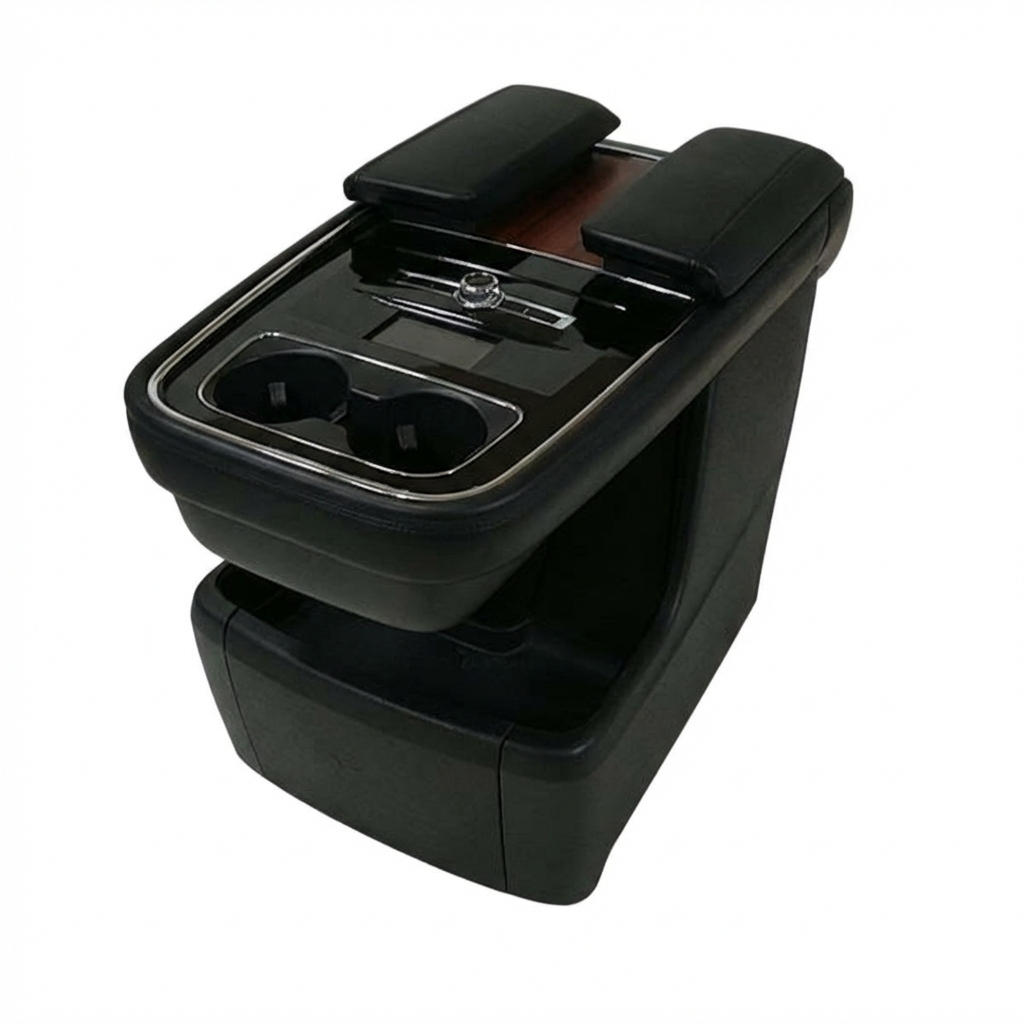
The center console is more complex, consisting of multiple trim pieces, the armrest, rear vents, and panels holding various switches. Problems here are often cosmetic (peeling trim) or related to mechanical wear on latches and covers.
Common Failure Symptoms & Issues
- Peeling Trim: The silver or black finish on the shifter surround, cup holder, and other trim pieces is known to peel, bubble, or scratch easily, revealing the white plastic underneath.
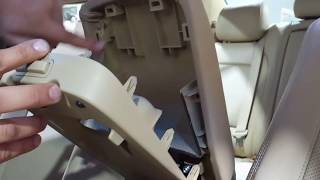
- Broken Armrest Latch: The latch for the main storage compartment under the armrest can break, preventing it from staying closed. 🎬 See how to replace the center console armrest lid
- Sticking Cup Holder Cover: The roll-top or sliding cover for the cup holders can become sticky or fail to retract smoothly.
- Broken Rear Air Vents: The louvers on the rear console air vent assembly can break, preventing air direction adjustment.
- Worn Buttons: The markings on frequently used buttons (like drive mode or seat heaters) can wear off.
Buying Used Center Console Parts
When buying used center console components, careful inspection is key.
- Match Features Exactly: The center console houses buttons for many different options (heated/ventilated seats, drive modes, electronic parking brake, etc.). Ensure any control panel you buy has the exact same button layout as yours.
- Inspect for Peeling: This is the most common issue. Ask for clear, well-lit photos of all trim surfaces. Be wary of any parts that already show signs of bubbling or peeling.
- Test Mechanical Parts: If buying in person, test the armrest latch, cup holder cover, and any other moving parts.
- Verify Part Numbers: Use part numbers like 84610-B1100-RRY (main floor console) or 84640-B1000-RRY (rear console cover) to ensure you're getting the right piece for your car's specific trim and color.
Center Console Replacement
Replacing pieces of the center console can range from easy to difficult depending on the part. Replacing a simple trim piece might be a 10-minute job, but replacing the entire main console assembly is a significant undertaking.
- Difficulty: 3/5 (for the entire assembly)
- Time: 2-4 hours
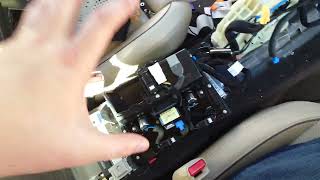
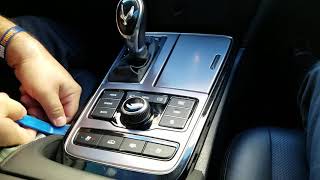
- Process: A full replacement involves removing the shift knob, prying off multiple side panels and trim pieces, removing bolts inside the armrest compartment, and disconnecting numerous electrical connectors for all the switches and ports. This is a job that requires patience and careful organization of parts and screws. 🎬 Watch: Step-by-step center console removal walkthrough
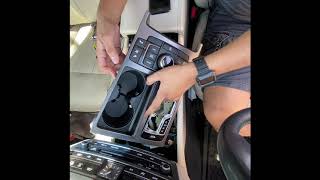
Pro Tip: If you only need to replace the shifter trim or the cup holder assembly, you can often pry that specific panel up and out without removing the entire center console structure, saving a lot of time.
🎬 Watch: Quick center console trim removal guideTSBs and Recalls
While there are no major recalls specifically for the console panels on the 2009-2017 Genesis models, there are some related items. A TSB was issued for newer G80 models (2021-2023) for a difficult-to-open center console armrest, but this does not apply to the years covered in this guide. There have been recalls for newer Genesis models (2025-2026) related to software issues causing the instrument panel and center display to go blank, but this does not affect the 2009-2017 models.
Cost Comparison
| Part | New OEM Price | Used OEM Price | Shop Labor Cost |
|---|---|---|---|
| Overhead Console Assembly | $495 - $785 | $75 - $200 | $60 - $120 |
| Center Console Main Assembly | $400 - $500 | $150 - $300 | $250 - $500 |
| Center Console Armrest | $500 - $715 | $100 - $250 | $75 - $150 |
| Center Console Rear Cover/Vent | $310 - $440 | $70 - $150 | $50 - $100 |
Frequently Asked Questions
Is the console from a 2015 Hyundai Genesis the same as a 2017 Genesis G80?
Yes, for the most part. The 2017 Genesis G80 is a continuation of the same generation (DH) as the 2015-2016 Hyundai Genesis. The core components of the overhead and center consoles are physically interchangeable. However, always verify part numbers and features, as minor changes in options or colors could exist between model years.
Why did my map lights stop working?
The most common cause is simply burnt-out bulbs. If replacing the bulbs doesn't work, the issue could be a faulty switch within the overhead console unit, a loose electrical connector behind the console, or a blown fuse. If only one light is out, it's likely the bulb; if all lights and the sunroof switch are dead, check the fuse first.
Can I install an overhead console with a sunroof switch in my car that doesn't have a sunroof?
No. While it might physically fit, the electrical connector and wiring are different. The non-functional switch would be confusing, and the other functions like the lights may not work correctly without the proper wiring harness.
How can I fix the peeling trim on my center console?
You have a few options. The most durable solution is to replace the peeling trim piece with a new or used OEM part in good condition. A more budget-friendly DIY option is to remove the trim piece, sand off the remaining peeling finish, and either repaint it or wrap it with high-quality automotive vinyl for a custom look.
Part Number Reference

The following part numbers were used as a reference for this guide. Note that the last few letters often denote color. Always verify fitment with your vehicle's VIN.
| Part Number | Description |
|---|---|
| 92800-3M500-TX | Overhead Console Lamp Assembly (2008-2014 Genesis) |
| 92810-B1020-VYC | Overhead Console, with sunroof, ivory (2015-2017) |
| 92810-B1020-WYB | Overhead Console, with sunroof, beige (2015-2017) |
| 92810-B1020-SG2 | Overhead Console, with sunroof, gray (2015-2017) |
| 84610-B1100-RRY | Center Console Main Assembly, black |
| 84640-B1000-RRY | Rear Console Cover Assembly, black |
| 84660-B1000-4RR | Center Console Armrest, black suede leather |
Helpful Videos
Technical Specifications
OEM Part Numbers: 9280010B1020 92810B1020 92810B1020VYC 84610B1100RRY 84611B1100 84640B1000RRY 84650B1000ST4 84660B10004RR 84675-B1000 84675-B1000-ZH3 928003M500TX 92810-B1020-VYC 92810-B1020-WYB 92810-B1020-SG2
Fitment varies by sunroof option (for overhead console) and interior color/trim options (for all parts).
We Have This Part in Stock




The information in this article is provided for general reference and educational purposes only. Vehicle specifications, procedures, and part compatibility can vary by production date, trim level, and region. Always consult your vehicle's factory service manual and verify part numbers before purchasing or performing repairs. Safety-critical components such as airbags, seat belts, and braking systems should be installed by a qualified professional.
- Hyundai Genesis:
- Genesis G80:
- 🎬 Helpful Videos
- 🛍️ Shop This Part
- Understanding 'Console Panel' on Your Genesis
- Part 1: The Overhead Console (Map Light Console)
- Common Failure Symptoms
- Known Issues & Variants
- Buying a Used Overhead Console
- Overhead Console Replacement
- Part 2: The Center Console Components
- Common Failure Symptoms & Issues
- Buying Used Center Console Parts
- Center Console Replacement
- TSBs and Recalls
- Cost Comparison
- Frequently Asked Questions
- Part Number Reference
- 🎟️ Get 5% Off