

2010-2015 Camaro Console Guide: Solving Peeling Trim and Gauge Pack Swaps
Your definitive guide to identifying, inspecting, and replacing the center console in a 5th Generation Chevrolet Camaro with an automatic transmission.
- The two most critical compatibility checks are for transmission type (Automatic vs. Manual) and the optional 4-pack gauge cluster.
- Vehicles without the factory 4-pack gauges require a separate wiring harness to retrofit them; it is not a simple plug-and-play swap.
- Cosmetic wear, like peeling silver trim, is the most common failure and can be fixed with paint, vinyl wrap, or by replacing the trim piece.
- A used OEM console is a cost-effective replacement, but always inspect for broken mounting tabs, as this will cause rattles.
Common Failure Points and Symptoms

Failure of the 5th Gen Camaro console is typically related to cosmetic wear and physical damage rather than mechanical breakdown. These issues can make an otherwise clean interior look worn and dated.
Peeling or Faded Silver Trim
The most common complaint is the deterioration of the silver or gray finish on the main console trim piece, especially around the shifter and cupholders. Over time, exposure to sun, cleaning products, and general wear can cause the finish to fade, develop spots, or peel away, revealing the black plastic underneath. This is a purely cosmetic issue but is very noticeable.
Excessive Heat from Console
Many owners report that the center console and cupholder area can become significantly hot to the touch. This is especially common during long drives or in stop-and-go traffic. This heat is transferred from the transmission and exhaust running underneath the car and is generally considered a normal characteristic due to a lack of extensive heat shielding from the factory. While it won't damage the console itself, it can warm drinks in the cupholders.
Cracks, Scratches, and Broken Components
Like any plastic interior part, the console is susceptible to damage. Common issues include:
- Scratches: The side panels are often scuffed by the seat belt buckle.
- Broken Latches: The latch for the armrest/storage lid can break, preventing it from staying closed.
- Rattles: Plastic clips and mounting points can loosen over time, causing rattles and squeaks. While sometimes the console itself is the source, rattles in this area can also be caused by loose heat shields or transmission components under the car.
Known Issues, TSBs, and Recalls

Optional 4-Pack Gauge Cluster Wiring
One of the biggest issues buyers face is when trying to upgrade to a console with the optional 4-pack auxiliary gauges (oil pressure, oil temp, volts, trans temp). A vehicle that was not equipped with these gauges from the factory does not have the correct wiring harness to simply plug them in. To retrofit the gauges, a separate, specific wiring harness adapter is required. These harnesses are often different for 2010-2012 and 2013-2015 models, so it's critical to buy the correct one for your year.
🎬 Watch: How to install the 4-pack gauge cluster kitIgnition Key Safety Recall (Critical)
While not a fault of the console itself, all 2010-2015 Camaros are affected by a critical safety recall concerning the ignition key. The original flip-style key could be bumped out of the 'run' position by the driver's knee, shutting off the engine and disabling airbags. The official fix was a new key with a traditional single-blade design. A second recall was issued because dealers and parts suppliers were still selling the old, dangerous flip-keys as replacements. Verify with a dealer that this recall has been performed on any vehicle you own or are considering purchasing.
Warning: There are no official TSBs or recalls for peeling trim or heat coming from the console. These are considered normal wear or characteristics of the vehicle.
Buyer's Guide: Inspecting a Used 2010-2015 Camaro Console Panel

Buying a used OEM console is the most cost-effective way to refresh your interior. However, careful inspection is required to ensure you get a good part that fits correctly.
Step 1: Verify Transmission and Gauge Configuration
This is the most critical step. The console you are buying MUST be for an automatic transmission. The shifter opening for a manual transmission is a different shape and size. Next, decide if you want the 4-pack gauge cluster.
- Standard Console: Has a simple storage pocket in front of the shifter.
- Gauge Pack Console: Has the four round gauges in front of the shifter. If you are upgrading, remember you will need to purchase a separate wiring harness.
Step 2: Inspect All Mounting Points
Carefully flip the console over and check all plastic tabs, clips, and screw holes. These are fragile and can easily break during removal. A console with broken mounting points will not sit securely and will likely lead to persistent rattles.
Step 3: Examine the Surface and Finish
Check the silver/gray trim piece for any signs of peeling, bubbling, or deep scratches. While minor fading is common, avoid units with significant finish damage unless you plan to repaint or wrap it. Also inspect the black plastic side panels for deep gouges from seat belts.
Step 4: Test the Armrest and Cupholder
Open and close the armrest lid multiple times. Ensure the latch clicks securely and holds the lid down. Check the hinge for excessive wobble. If the console includes the cupholder assembly, test its mechanism to ensure it operates smoothly.
Step 5: Match Your Interior Color
While most consoles are black or a very dark charcoal/gray, there can be slight variations in color and texture. Compare the used part to your vehicle's interior in good lighting to ensure an acceptable match.
Replacement Overview (Difficulty: 2/5)
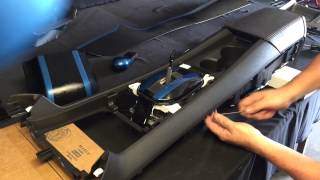
Replacing the center console is a manageable DIY project for most people with basic tools. The entire process typically takes 1-2 hours.
🎬 Watch this step-by-step center console removal walkthroughTools Required:
- Plastic trim removal tools
- 10mm socket with extension
- Phillips head screwdriver
- Torx bit (for automatic shifter knob)
General Steps:
- Disconnect the Battery: Always disconnect the negative battery terminal before working on interior electronics.
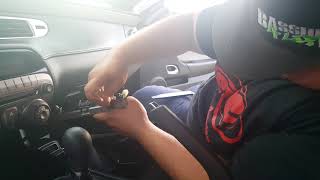
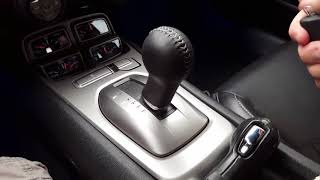
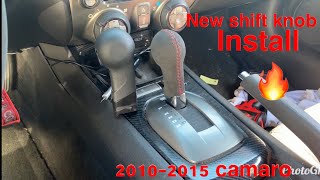
- Remove Shifter Knob: On automatic models, pop off a small cover on the front of the shifter handle to access and remove a small Torx set screw. The handle then lifts off.
- Remove Side Panels: The long 'knee bolster' panels on each side of the console pull off. They are held in by clips.
- Remove Screws: Remove the exposed 10mm and Phillips screws located at the front, sides, and inside the rear storage compartment.
- Lift Console: Unclip the shifter trim bezel. Lift the entire console assembly up and back.
- Disconnect Wiring: Before fully removing the console, reach underneath and disconnect the wiring harnesses for the power outlet, traction control switch, and gauge cluster (if equipped).
- Installation is the reverse of removal. Be careful not to force clips, and ensure all wiring is reconnected before reconnecting the battery.
Cost Comparison
| Part Source | Estimated Cost |
|---|---|
| New OEM | $470 - $600 |
| New Aftermarket | $800+ (for carbon fiber upgrades) |
| Used OEM | $150 - $250 |
| Shop Labor Cost | $150 - $375 |
Frequently Asked Questions (FAQ)
Can I install a console from a manual transmission Camaro in my automatic?
No, the main console bodies are not directly interchangeable because the opening for the shifter assembly is a different size and shape.
My console trim is peeling. Can I just fix it?
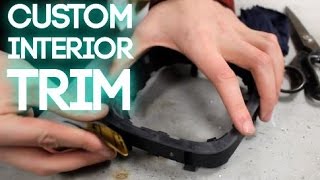
Yes. Many owners choose to fix the peeling trim instead of replacing the whole console. Common solutions include sanding and repainting the trim piece with interior paint, or covering it with a vinyl wrap. There are also aftermarket stick-on overlays available in finishes like carbon fiber.
🎬 See how to refinish and paint worn interior trimI bought a console with the 4-pack gauges and plugged it in, but it doesn't work. Why?
Your car is missing the factory wiring for the gauges. You must purchase a separate plug-and-play adapter harness that connects the gauge pack to the vehicle's body control module, typically accessed from the passenger-side footwell area.
How do I remove the automatic shifter handle to get the console off?
There is a small plastic cover on the front of the T-handle shifter. Pry this cover off to reveal a small Torx set screw. Once you remove that screw, the entire handle will slide straight up and off the shifter stalk.
Helpful Videos
Technical Specifications
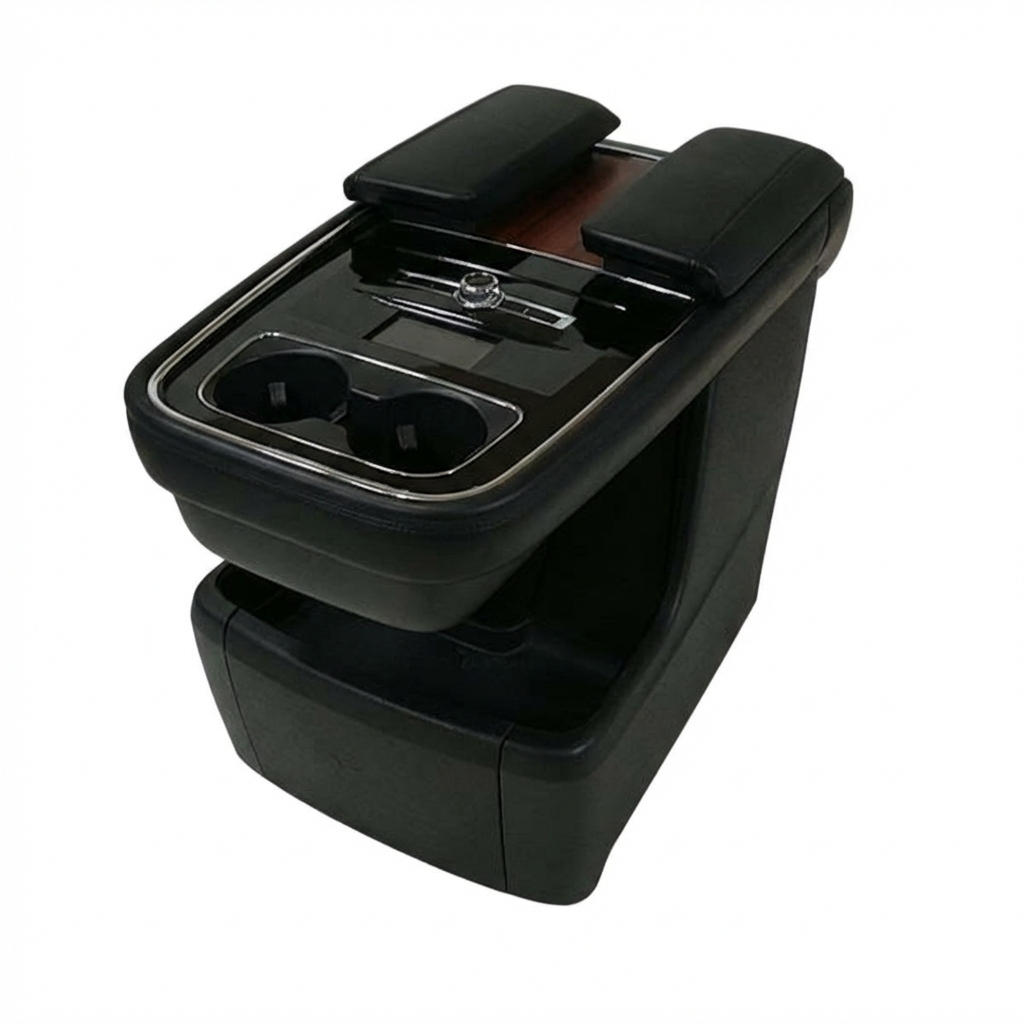
OEM Part Numbers: 22785197 22785199 22888244 92233050 92239968 92239970 92242336 92247942 20944783 22756950 22888233 22888238
Fitment is specific to Automatic Transmission models. Variants exist for models with and without the optional 4-pack auxiliary gauge cluster. Multiple color and trim finishes were produced.
We Have This Part in Stock



The information in this article is provided for general reference and educational purposes only. Vehicle specifications, procedures, and part compatibility can vary by production date, trim level, and region. Always consult your vehicle's factory service manual and verify part numbers before purchasing or performing repairs. Safety-critical components such as airbags, seat belts, and braking systems should be installed by a qualified professional.
- Chevrolet Camaro:
- 🎬 Helpful Videos
- 🛍️ Shop This Part
- Common Failure Points and Symptoms
- Peeling or Faded Silver Trim
- Excessive Heat from Console
- Cracks, Scratches, and Broken Components
- Known Issues, TSBs, and Recalls
- Optional 4-Pack Gauge Cluster Wiring
- Ignition Key Safety Recall (Critical)
- Buyer's Guide: Inspecting a Used 2010-2015 Camaro Console Panel
- Step 1: Verify Transmission and Gauge Configuration
- Step 2: Inspect All Mounting Points
- Step 3: Examine the Surface and Finish
- Step 4: Test the Armrest and Cupholder
- Step 5: Match Your Interior Color
- Replacement Overview (Difficulty: 2/5)
- Cost Comparison
- Frequently Asked Questions (FAQ)
- 🎟️ Get 5% Off