

2019-2021 Kia Sedona Front & Overhead Consoles: A Guide to Variants, Rattles, and Replacement
This guide covers the common failure points and complex variations of the floor and overhead consoles in the 2019-2021 Kia Sedona.
- The biggest challenge is compatibility; consoles vary significantly based on color, sunroof, power doors, and other options. Always match part numbers or use a VIN to verify.
- Common failures are physical, such as broken latches, rattles from loose panels, and cracked trim. These are typically not safety-critical.
- When buying a used console, the most important inspection point is the condition of the plastic mounting tabs and clips, which are essential for a secure fit.
- Replacement is a manageable DIY job, but requires care and the use of plastic trim tools to avoid damaging the panels.
Understanding the 2019-2021 Kia Sedona's Front Console System

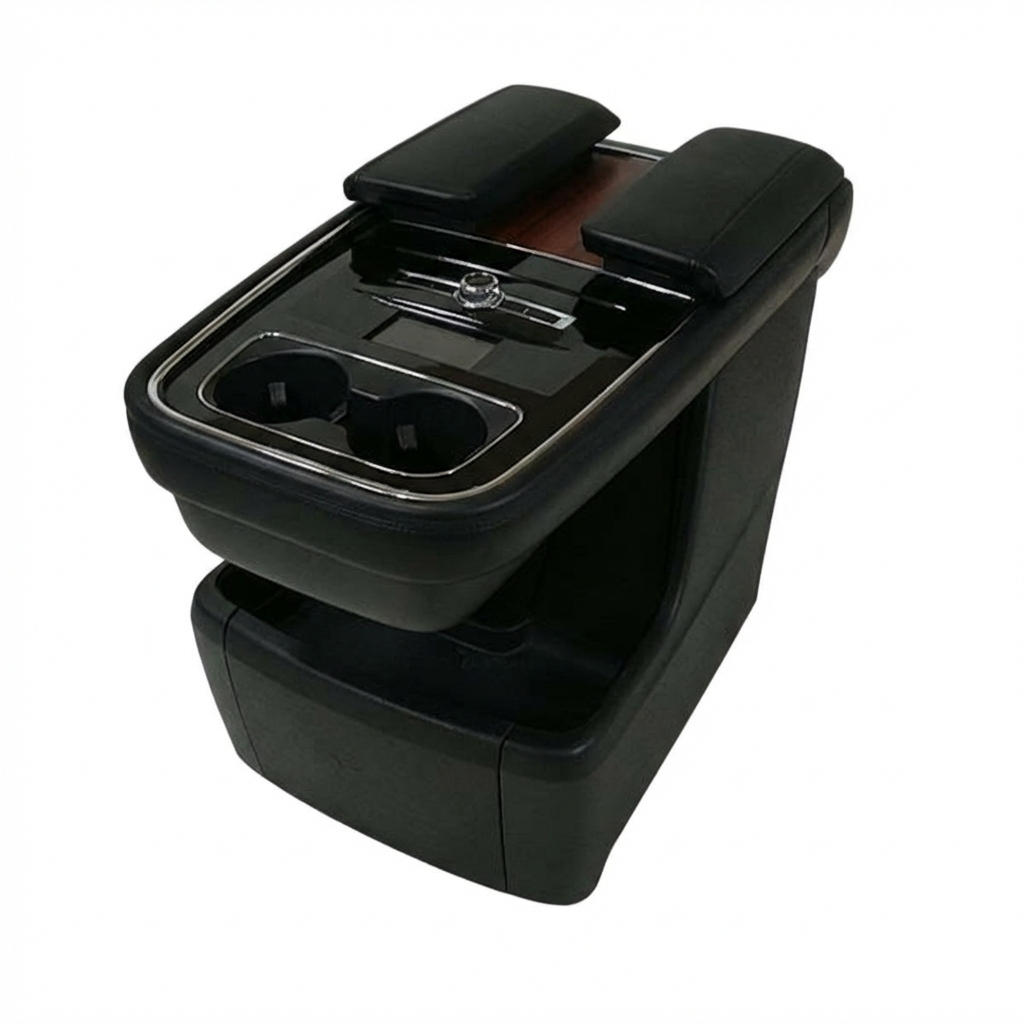
When referring to the 'Front Console' in a 2019-2021 Kia Sedona, it's important to distinguish between two separate but related assemblies: the main Floor Console and the Overhead Console. Both are highly dependent on the vehicle's specific trim and options, making it crucial to identify the correct part for your vehicle.
Key Variants and Options
Compatibility is the biggest challenge when replacing a console component. A part from a donor vehicle must match your Sedona's original factory options. Always verify compatibility using the vehicle's VIN.
- Color Trim: The most common interior colors are Beige (code WK) and Gray (code CQA). A replacement console must match your vehicle's interior color code.
- Overhead Console Options: The overhead console changes based on whether the vehicle is equipped with a sunroof, power sliding doors, and a power liftgate. For example, a console for a model with a sunroof and power doors will have different switch cutouts than a base model.
- Floor Console Options: Variations in the floor console depend on features like heated seats, USB chargers, and power inverters, which affect the switch panels and wiring.
Warning: The provided part numbers indicate a wide variety of configurations. For example, 92800-A9200DAA is for a beige model without power sliding doors, while 92800-A9220DAA is for a beige model with power sliding doors and a power liftgate. You must match part numbers exactly or verify with a VIN.
Symptoms of Console Failure

Failure of the console is typically physical or cosmetic, rather than electrical, as the console itself is primarily a plastic housing. The electronic switches and lights are separate components, though they are housed within the console.
Common Symptoms:
- Rattles and Squeaks: This is the most common complaint. Rattles can come from loose mounting bolts, worn clips, or contact between plastic panels. These noises are often more noticeable when driving over bumps.
- Broken Latches: The latch for the armrest storage compartment or the sunglass holder can break from repeated use, preventing it from staying closed.
- Cracked or Damaged Trim: The plastic trim panels can become cracked from impact or brittle over time. The finish may also peel or become scratched.
- Loose or Broken Mounting Points: The tabs and screw holes that secure the console to the vehicle floor or headliner can break, causing the entire assembly to become loose.
Buying a Used Console: What to Check

Purchasing a used OEM console is often a cost-effective alternative to expensive new parts. However, careful inspection is key.
Inspection Checklist:
- Verify Compatibility: This is the most critical step. Obtain the part number from the used console and ensure it matches yours. If possible, get the VIN of the donor vehicle to cross-reference its features (sunroof, power doors, color) with yours.
- Check All Mounting Points: Carefully inspect all plastic tabs, clips, and screw bosses on the back and underside of the console. These are easily broken during removal and are essential for a secure, rattle-free installation.
- Inspect for Physical Damage: Look for hairline cracks, deep scratches, and stress marks (white discoloration in the plastic), especially around the shifter opening and armrest hinge.
- Check Latches and Hinges: Open and close the armrest lid and sunglass holder (if applicable) multiple times. Ensure the latches catch securely and the hinges operate smoothly without binding.
- Assess Cosmetic Condition: Check for peeling soft-touch coatings, sun fading, or stains that may not be easily cleaned.
Pro Tip: When buying online, ask the seller for high-quality photos of the underside and all mounting tabs, not just the top surface. A reputable seller of recycled parts will be happy to provide these details.
Known Issues, TSBs, and Recalls
For the 2019-2021 model years, there are no specific recalls or Technical Service Bulletins (TSBs) directly related to the physical structure of the front or overhead consoles. Most owner complaints revolve around general interior rattles that can sometimes be traced to the console area.
- Recall SC177: This recall affects some 2019 models and concerns improperly installed second-row seat belt buckles, not the front console.
- Recall SC226: This recall involves the Air Bag Control Unit (ACU) on some 2019 models, which could be located near the console but is not part of it.
- TSB ELE201: This TSB addresses the power sliding door lock actuator, a switch for which is located in the overhead console, but the bulletin does not concern the console housing itself.
Replacement Overview
Replacing the front console is a manageable DIY project for someone with experience removing interior trim panels. The main challenge is avoiding damage to the plastic clips and surrounding trim.
- Floor Console: Removal involves prying off upper trim covers, disconnecting electrical connectors for switches and outlets, and unbolting the main assembly from the floor. Using plastic trim removal tools is highly recommended to prevent scratching the panels.
- Overhead Console: This is typically held in by clips and a few screws, often hidden behind the sunglass holder or light lenses. Care must be taken when disconnecting the wiring harness to avoid damaging the connector.
| Item | Difficulty | Est. Time |
|---|---|---|
| Floor Console Replacement | 3/5 (Moderate) | 1.5 - 2.5 hours |
| Overhead Console Replacement | 2/5 (Easy) | 0.5 - 1 hour |
Cost Comparison
The cost for console components can vary significantly based on the specific part and its features. Buying used OEM parts can offer substantial savings over new dealer prices.
| Part | New OEM Price | Used OEM Price | Shop Labor |
|---|---|---|---|
| Overhead Console (with options) | $295 - $440 | $75 - $150 | $100 - $150 |
| Floor Console Side Trim Panel | $50 - $75 | $25 - $45 | $50 - $100 |
| Complete Floor Console Assembly | $500+ (estimate) | $150 - $300 | $150 - $250 |
Prices are estimates and can vary based on supplier, location, and part condition. Aftermarket options for these specific console structures are generally not available.
Frequently Asked Questions
Can I fix a rattling console without replacing it?
Yes. Often, rattles can be fixed by tightening mounting bolts or applying felt tape or foam padding to contact points between plastic panels to dampen vibrations. First, try to pinpoint the exact source of the noise by pressing on different areas of the console while driving.
Do I need to disconnect the battery to replace the console?
It is always a best practice to disconnect the negative battery terminal before working on any component that has electrical connectors, such as the console's switches, lights, and power outlets. This prevents accidental short circuits and protects sensitive electronics.
Can I upgrade to a console with more features?
It is not recommended. While physically possible, upgrading would require extensive and complex changes to the vehicle's wiring harness to make features like a power inverter or additional USB ports functional. It is much more practical to replace the console with one that matches your vehicle's original configuration.
Is the armrest latch available as a separate part?
Sometimes, but not always. For many vehicles, the small latch mechanism is not sold separately from the entire armrest lid assembly. If your latch is broken, you may need to source a complete used armrest lid. Some aftermarket companies produce replacement latches for popular models, but availability for the Sedona may be limited.
Technical Specifications
OEM Part Numbers: 84611-A9100DAA 84611A9100DAA 84612-A9110DAA 84612A9110DAA 84621-A9100DAA 84621A9100DAA 84660-A9100EAC 84660A9100EAC 84680-A9000DAA 84680A9000DAA 92800-A9200 92800-A9200DAA 92800-A9220DAA 92800-A9420DAA 92800A9200DAA 92800-A9210DAA
Varies by trim. Key variants include color (Beige WK, Gray CQA), and options (sunroof, power sliding doors, power liftgate, USB ports, power inverter).
We Have This Part in Stock



The information in this article is provided for general reference and educational purposes only. Vehicle specifications, procedures, and part compatibility can vary by production date, trim level, and region. Always consult your vehicle's factory service manual and verify part numbers before purchasing or performing repairs. Safety-critical components such as airbags, seat belts, and braking systems should be installed by a qualified professional.
- Kia Sedona:
- 🛍️ Shop This Part
- Understanding the 2019-2021 Kia Sedona's Front Console System
- Key Variants and Options
- Symptoms of Console Failure
- Common Symptoms:
- Buying a Used Console: What to Check
- Inspection Checklist:
- Known Issues, TSBs, and Recalls
- Replacement Overview
- Cost Comparison
- Frequently Asked Questions
- 🎟️ Get 5% Off