

2010-2011 Toyota Prius Center Console: Fixing Latches, Creaks, and Compatibility
This guide covers common failures like broken latches and worn armrests, and explains the critical compatibility differences for the 2010-2011 Prius center console.
- For 2011 models, the console only fits vehicles made before November 2010; check the manufacturing date on the door jamb sticker.
- The most common failure is the armrest latch; always test its function on a used part before buying.
- Creaking noises can usually be fixed for free by tightening four bolts located under the carpet inside the main storage bin.
- Match the interior color code (e.g., -B0, -B2 for gray) from your vehicle's ID plate to ensure the replacement part's color is a perfect match.
Key Variants and Compatibility for 2010-2011 Prius Consoles
Before purchasing a replacement center console, it's critical to understand the specific variations for the 2010-2011 Prius. Mismatched parts may not fit correctly or will look out of place.
- Armrest Material: Consoles were available with either a standard cloth (fabric) armrest or an upgraded leather-trimmed armrest. These are interchangeable as complete lid assemblies, but the material should match your car's trim level for a factory appearance.
- Interior Color Codes: The most common interior color is gray. However, Toyota used different shades. The color code is part of the OEM part number, typically a suffix like -B0 or -B2. For example, 58811-47010-B0 is a gray side trim panel. Always match this code to ensure the replacement part is not a different shade of gray. You can find your car's interior trim code on the vehicle identification plate located on the driver's side door jamb.
- Sliding vs. Non-Sliding Lid: All 2010 and early 2011 Prius models came with a sliding armrest lid. Models from 2012-2015 used a different, shorter, non-sliding lid. These are not directly interchangeable without swapping other console components.
Warning: For the 2011 model year, a mid-year design change occurred. The console assembly described here is typically only compatible with vehicles manufactured before November 2010. You can find your vehicle's manufacturing date (e.g., '10/10' for October 2010) on the sticker in the driver's side door jamb. Failure to check this may result in buying an incompatible part.
Symptoms of a Failing Center Console
Failure in a center console is almost always related to physical wear and tear rather than mechanical or electrical issues.
Broken Armrest Latch
The most frequent problem is a broken latch mechanism. This can manifest in two ways: the lid won't stay closed, or the sliding top won't lock into its forward position and slides back and forth during acceleration and braking. The small plastic latch or its catch is prone to breaking from repeated use. Fortunately, the latch itself is available as a separate part.
Worn or Peeling Armrest Material
The surface of the armrest, whether cloth or leather, can become worn, frayed, or peel over time due to contact with the driver's elbow and skin oils. This is a cosmetic issue but can make the interior look tired and dirty. While cleaning can help, heavily damaged surfaces usually require replacing the entire armrest lid or re-covering it with an aftermarket skin.
Creaking and Rattling Noises
A common complaint is a persistent creaking sound coming from the center console area. This is often caused by the four main bolts that secure the console to the vehicle floor becoming loose over time. This allows the plastic assembly to flex and rub against itself, creating noise. This is usually a simple fix that doesn't require replacing the console.
Pro Tip: To fix a creaky console, open the armrest lid, remove everything from the main storage bin, and pull up the small piece of carpet at the bottom. You will see four 10mm bolts. Tighten these bolts securely to eliminate the movement and noise.
Buying a Used 2010-2011 Prius Center Console: What to Inspect
A used OEM console is an excellent, cost-effective alternative to a brand-new unit, offering perfect fitment and color matching. However, you must inspect it carefully before buying.
- Verify Latch Function: This is the #1 failure point. Open and close the lid multiple times. Ensure it clicks shut and stays closed. If it's a sliding lid, slide it fully forward and check that it locks in place. Press the release lever to make sure it slides back smoothly.
- Inspect the Hinges: Open the lid and gently wiggle it side-to-side. Excessive play could indicate worn or cracked hinges, which are part of the main lid assembly.
- Check Material Condition: Look closely at the armrest surface for deep scratches, tears, or peeling. Minor shininess on leather can often be cleaned, but flaking or cracked material cannot be repaired.
- Look for Cracks and Scuffs: Inspect the main plastic body of the console, especially around the mounting points and edges, for any cracks or deep gouges. Pay attention to the side panels and the rear cup holder area.
- Confirm Compatibility: Double-check the part number and color code (-B0, -B2, etc.) against your original. For a 2011 model, confirm the donor car's manufacturing date is pre-November 2010.
- Ensure Completeness: Make sure all necessary components are included, such as the rear trim panel, internal storage tray, and the carpet liner at the bottom of the bin.
Replacement Overview
Replacing the center console assembly is a straightforward job that is very feasible for a DIY mechanic with basic tools.
- Difficulty: 2 out of 5
- Estimated Time: 1 to 1.5 hours
- Tools Required: 10mm socket with ratchet, Phillips screwdriver, plastic trim removal tools (recommended).
The basic process involves prying off the rear trim panel, removing two screws on the sides, opening the console bin to remove the bottom mat, and then removing the two or four 10mm bolts that secure the assembly to the floor. After unplugging any electrical connectors (for the rear power outlet), the entire unit can be lifted out. Installation is the reverse of removal.
Cost Comparison: New vs. Used
| Part Type | Estimated Cost | Notes |
|---|---|---|
| New OEM Assembly | $600 - $900+ | Very expensive, as it's often sold in multiple large pieces. A complete rear console with a leather lid can exceed $800. |
| Used OEM Assembly | $100 - $250 | Best value for a complete replacement. Prices vary based on condition and whether it's from a local yard or shipped. |
| New OEM Components | $15 - $100+ | Individual pieces like a side panel ($40-$75) or latch ($15-$20) can be bought separately. |
| New Aftermarket | $15 - $50 | Full console assemblies are not common. This price range is for replacement armrest covers (skins) or latches. |
| Shop Labor Cost | $100 - $200 | Typically 1-1.5 hours of labor at a standard shop rate. |
Known Issues, TSBs, and Recalls
There are no official recalls or Technical Service Bulletins (TSBs) from Toyota or the NHTSA specifically for the center console of the 2010-2011 Prius. The numerous recalls for this generation pertain to the braking system, accelerator pedal, and airbags. The most widely documented issue with the console is the creaking noise caused by loose mounting bolts, which is well-documented in owner forums.
Frequently Asked Questions (FAQ)
How do I find my car's manufacturing date and interior color code?
Both pieces of information are on the black and white sticker located on the driver's side door jamb (the B-pillar). The manufacturing date is usually near the top, shown as MM/YY (e.g., 10/10). The interior color code is labeled 'TRIM' and will be a multi-character code; the part you need to match often ends in B0 or B2 for the common gray interior.
Can I install a console from a 2012-2015 Prius into my 2010?
This is not a direct, bolt-in swap. The 2012+ models feature a redesigned console with a shorter, non-sliding armrest and permanently exposed cupholders. While some owners have attempted this modification, it requires changing multiple surrounding trim pieces and is not a simple replacement.
My armrest slides but won't lock. Do I need a whole new console?
No, you most likely just need a new latch. The latch that locks the sliding mechanism is a small, inexpensive plastic part that can be replaced separately. The OEM part number is shared across many Toyota models. Replacing it is much cheaper than swapping the entire lid or console.
Can I just replace the worn fabric/leather on my armrest?
Yes. Many aftermarket companies sell pre-cut leather or vinyl covers for the armrest lid. This requires removing the lid, taking off the old material, and then gluing and/or stapling the new cover into place. This is a cost-effective DIY repair for a cosmetically worn armrest.
Technical Specifications
OEM Part Numbers: 58811-47010-B0 58811-47010-G0 58812-47010-B0 58823-47020-B0 58901-47092-B2 58901-47110-B2 58908-32050
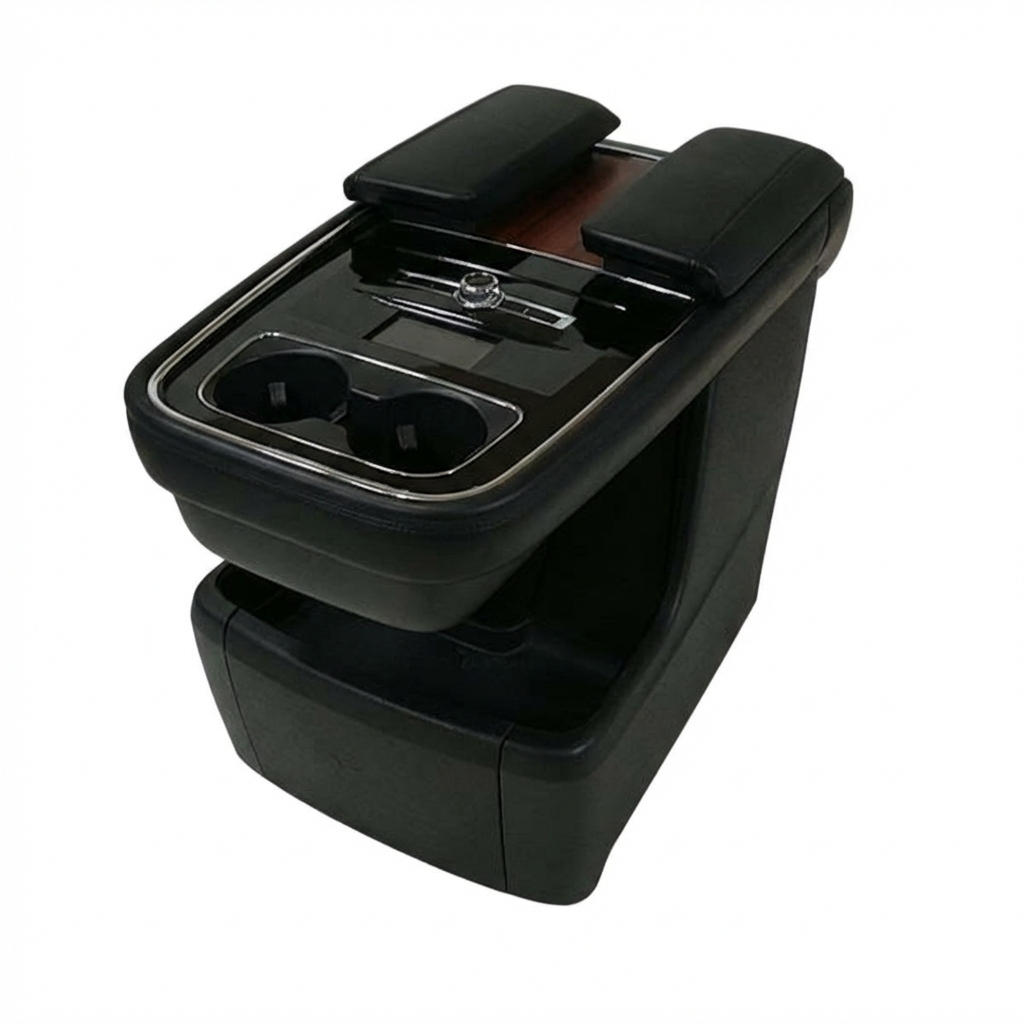
Material: Plastic with cloth or leather-trimmed armrest. Features a sliding top lid for models produced before November 2010.
We Have This Part in Stock




The information in this article is provided for general reference and educational purposes only. Vehicle specifications, procedures, and part compatibility can vary by production date, trim level, and region. Always consult your vehicle's factory service manual and verify part numbers before purchasing or performing repairs. Safety-critical components such as airbags, seat belts, and braking systems should be installed by a qualified professional.
- Toyota Prius:
- 🛍️ Shop This Part
- Key Variants and Compatibility for 2010-2011 Prius Consoles
- Symptoms of a Failing Center Console
- Broken Armrest Latch
- Worn or Peeling Armrest Material
- Creaking and Rattling Noises
- Buying a Used 2010-2011 Prius Center Console: What to Inspect
- Replacement Overview
- Cost Comparison: New vs. Used
- Known Issues, TSBs, and Recalls
- Frequently Asked Questions (FAQ)
- 🎟️ Get 5% Off