

2002-2008 MINI Cooper Alternator: Decoding Base vs. S Models and Failure Signs
This guide clarifies the critical differences between the 105-amp alternator for base models and the 120-amp version for the supercharged Cooper S, helping you diagnose failures and choose the right part.
- Base Cooper models use a 105-amp alternator, while supercharged Cooper S models require a 120-amp version; they are not interchangeable.
- A whining noise that follows engine RPM is the most common symptom of a failing alternator.
- Replacement is a labor-intensive job that requires putting the car's front end into a special "service mode" for access.
- Always replace the serpentine belt and belt tensioner at the same time as the alternator to save on future labor costs.
Key Differences: Base Cooper vs. Cooper S Alternators
One of the most common points of confusion when replacing the alternator on a first-generation MINI is the difference between the base Cooper and the supercharged Cooper S models. Installing the wrong one will lead to charging problems and potential damage.
Warning: The alternators for the naturally aspirated (base) Cooper and the supercharged Cooper S are NOT interchangeable. You must verify your model before purchasing a replacement.
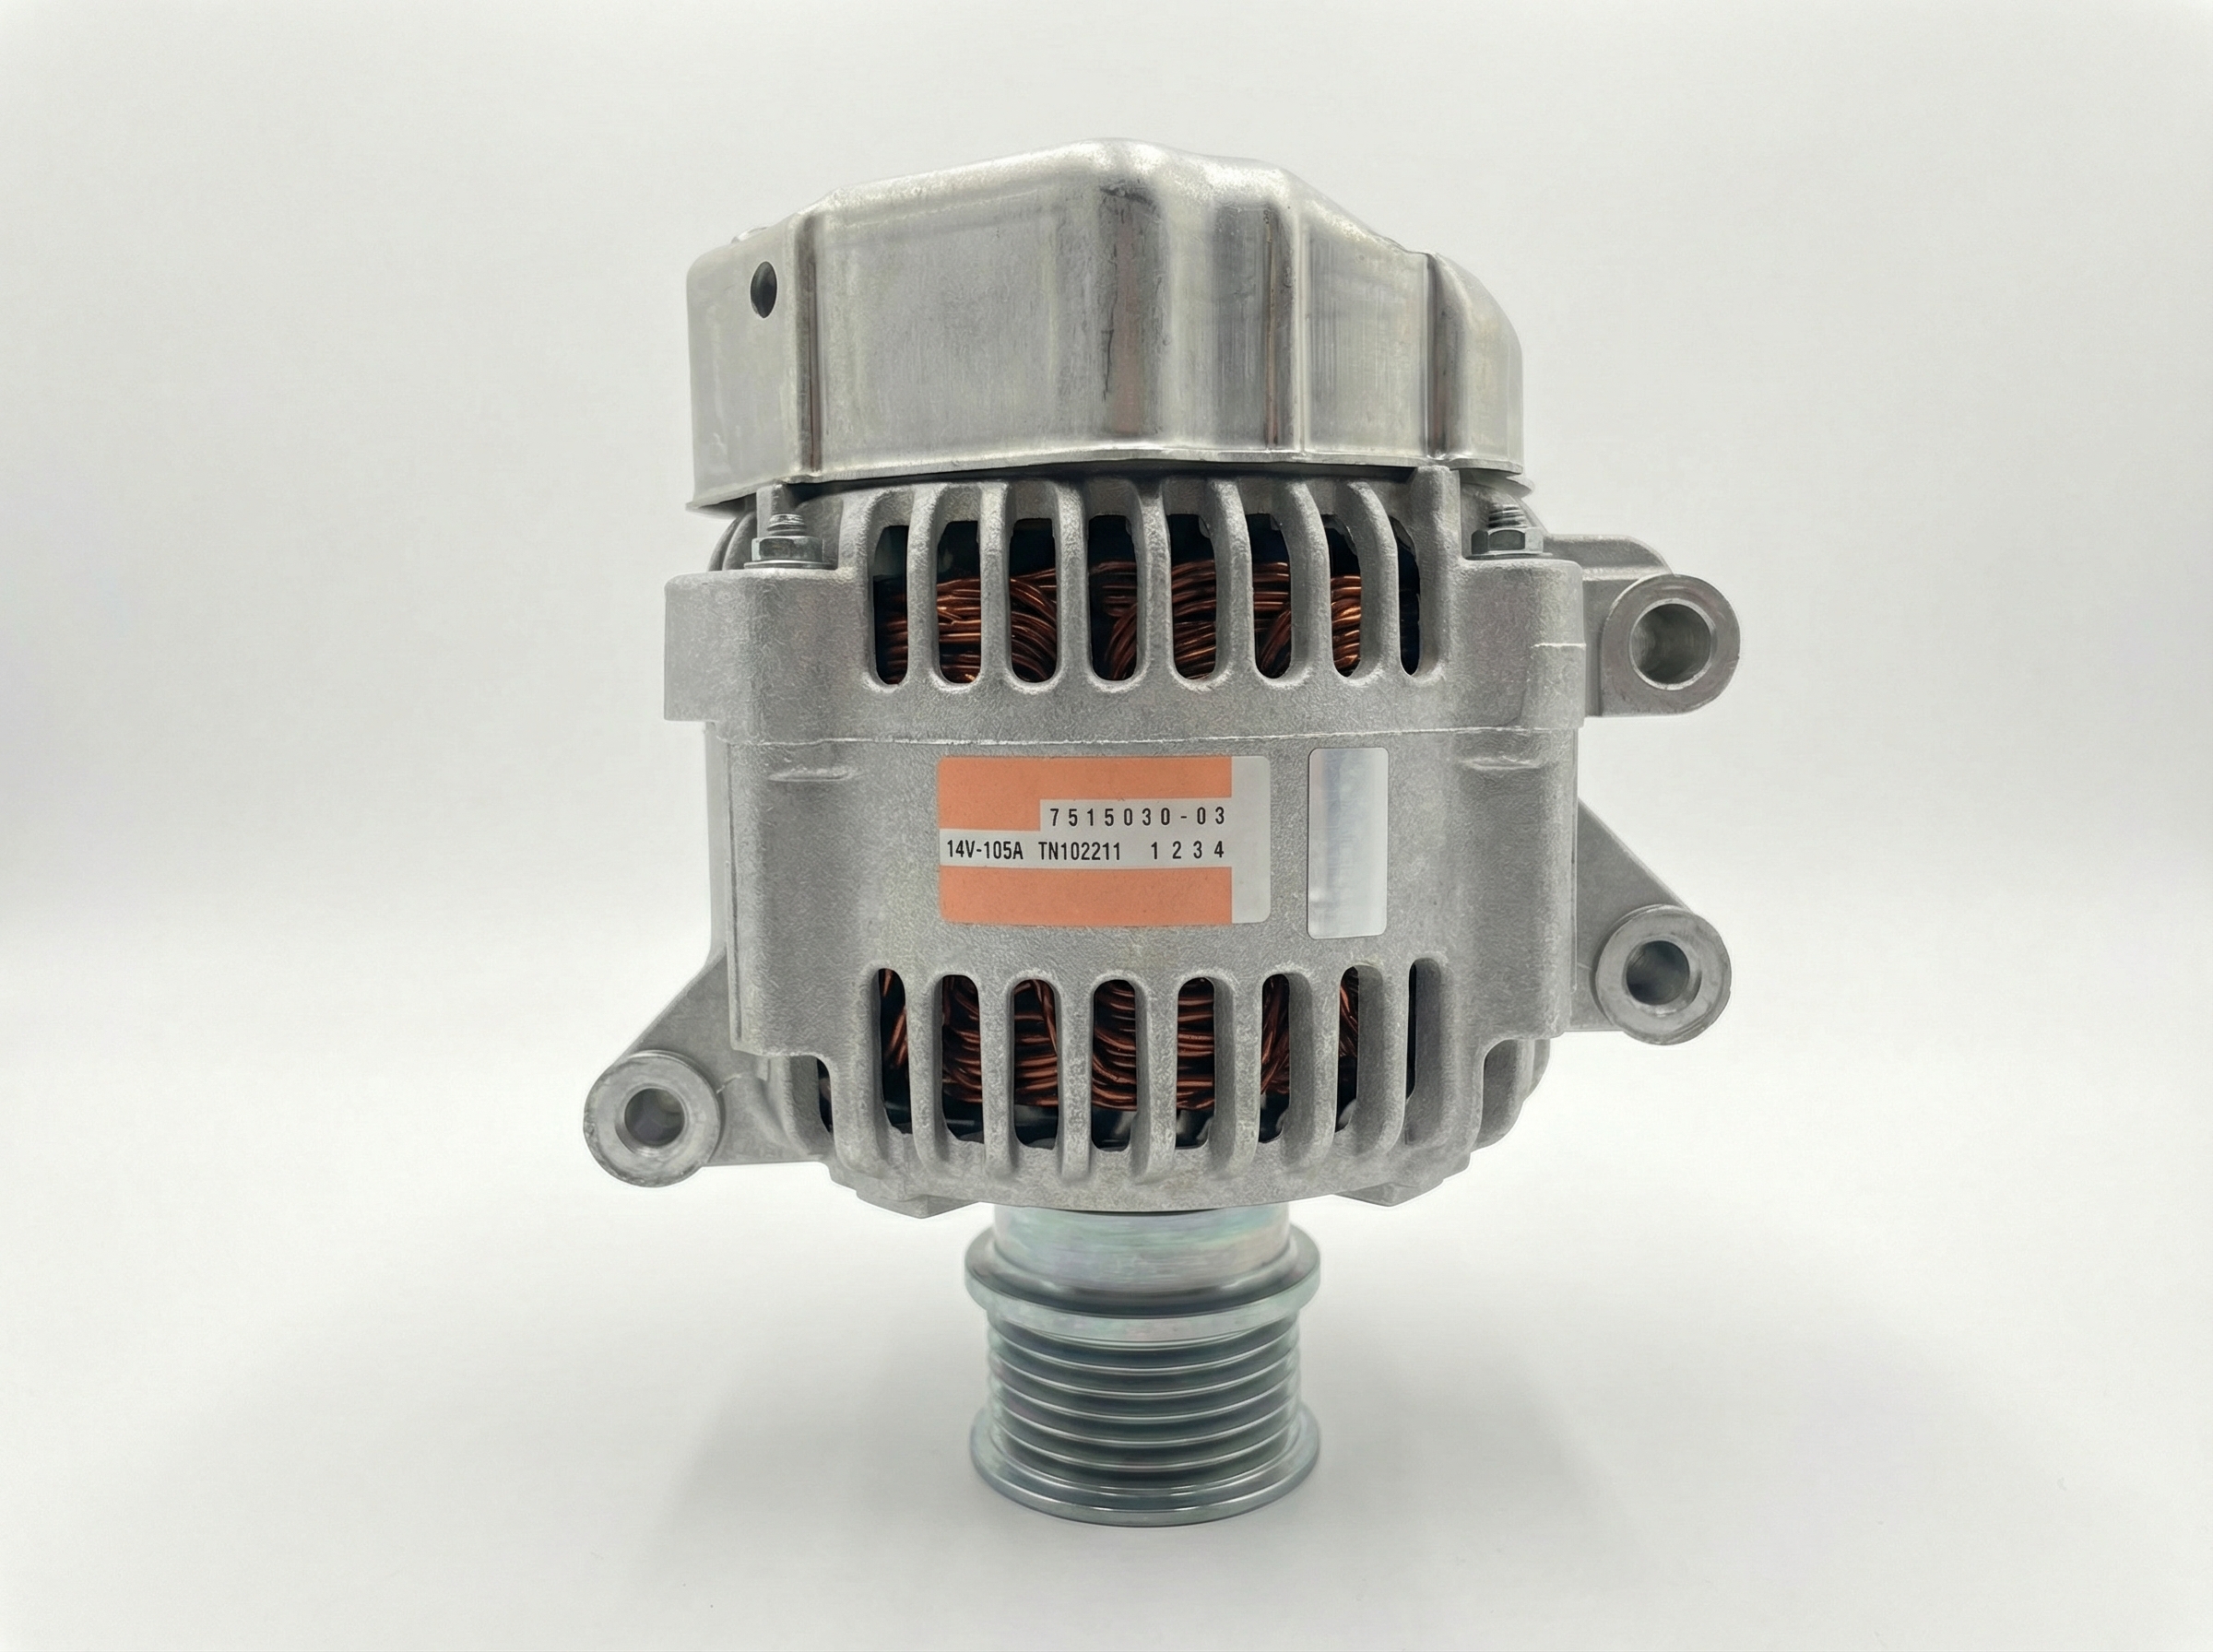
- Base MINI Cooper (R50 Hatchback, R52 Convertible): These models use a 105-amp alternator. This unit is designed for the standard electrical load of the naturally aspirated 1.6L engine. Known OEM part numbers include 12317515029 and 12317515030.
- MINI Cooper S (R53 Hatchback, R52 Convertible): The supercharged 'S' models require a more powerful 120-amp alternator to handle the higher electrical demands of the supercharger and other systems.
Always confirm the amperage and part number match your specific vehicle's VIN before buying or installing a replacement.
Symptoms of a Failing Alternator

Alternator failure can manifest in several ways, from strange noises to electrical gremlins. Here’s what to look and listen for:
Noises and Vibrations
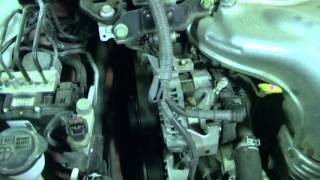
- Whining Sound: The most common symptom is a high-pitched whining noise that rises and falls with engine RPM. 🎬 Watch: Hear what a noisy, whining alternator sounds like. This is often caused by a failing bearing inside the alternator or a bad diode in the rectifier pack causing the alternator to work harder than it should.
- Grinding or Rumbling: A grinding or rumbling noise points to worn-out internal bearings. This sound is a serious warning that the alternator could seize, which would snap the serpentine belt and cause an immediate breakdown.
Electrical Symptoms
- Battery Warning Light: The most obvious sign is the battery icon illuminating on your dashboard. This light indicates that the vehicle's electrical system is running on battery power alone because the alternator is not providing a charge.
- Dimming or Flickering Lights: Headlights and interior lights that dim, especially at idle, and then brighten as you accelerate are a classic sign of a weak alternator struggling to provide consistent voltage.
- Slow or Malfunctioning Accessories: Power windows that operate slowly, a radio that cuts out, or other electrical components acting erratically can indicate the alternator isn't supplying enough power.
- Difficulty Starting: While a dead battery can be the cause, a failing alternator can prevent the battery from charging properly, leading to starting issues. If you replace the battery and the car dies again shortly after, the alternator is the likely culprit.
Buying a Used OEM Alternator

A used OEM alternator can be a reliable and cost-effective alternative to expensive new units, provided you know what to look for. OEM units from brands like Bosch or Valeo are often built to a higher standard than cheap aftermarket parts.
Inspection Checklist:
- Verify Amperage: First and foremost, confirm it is the correct 105-amp (Base) or 120-amp (Cooper S) version for your car. Check the sticker or stamping on the alternator housing.
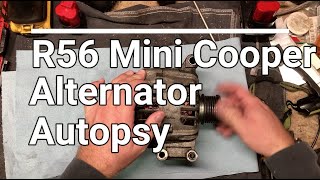
- Check the Pulley: The pulley should be free of cracks, chips, or excessive rust. Spin the pulley by hand; it should rotate smoothly with a slight resistance. If it feels gritty, makes noise, or has any side-to-side play, the bearings are likely worn.
- Inspect the Housing: Look for any cracks in the aluminum casing. Avoid units that show signs of heavy corrosion or have been cleaned with harsh chemicals, which can damage internal components.
- Examine Electrical Connections: The threaded post for the main power cable should be straight and the threads clean. The plastic housing for the connector plug should be intact with no cracks or broken clips.
- Mileage and Condition: Ask for the mileage of the donor vehicle if possible. Alternators can last over 100,000 miles, but lower mileage is always better. Avoid units that are covered in oil or coolant, as fluid contamination can lead to premature failure.
Replacement Overview and Related Parts
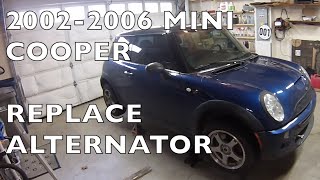
Replacing the alternator on a first-generation MINI Cooper is a moderately difficult job due to the tight space in the engine bay. The process typically requires putting the front of the car into "service mode," which involves sliding the entire front bumper and radiator support forward on long bolts to create enough clearance.
Pro Tip: While you have the alternator out, it is highly recommended to replace the serpentine belt and the belt tensioner assembly at the same time. These parts wear at a similar rate, and replacing them together saves you from doing the same labor-intensive job twice.
🎬 Watch: How to replace the belt tensioner while you're there.Key Steps:
- Disconnect the battery in the trunk.
- Put the front end into service mode by removing the bumper and sliding the radiator support forward.
- Release the tension on the serpentine belt using a special tool and remove the belt.
- Disconnect the electrical connectors and power cable from the back of the alternator.
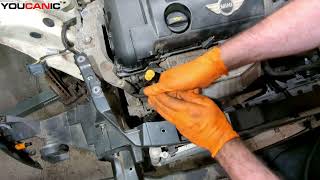
- Remove the mounting bolts and carefully maneuver the alternator out of the engine bay. 🎬 See this POV walkthrough of the Cooper S replacement process.
Installation is the reverse of removal. Ensure all bolts are torqued to the manufacturer's specifications.
Cost Comparison
Prices can vary significantly based on brand, location, and whether you do the work yourself. Labor costs are high due to the need to put the car in service mode.
| Part Type | Estimated Cost |
|---|---|
| New OEM (Dealer) | $650 - $1,100 |
| New Aftermarket | $200 - $400 |
| Remanufactured OEM/Aftermarket | $210 - $500 |
| Used OEM | $50 - $150 |
| Shop Labor | $400 - $650 |
Known Issues, Recalls, and TSBs
There are no specific recalls or widespread Technical Service Bulletins (TSBs) directly related to alternator failure on the 2002-2008 MINI Cooper. However, there was a major recall for the electro-hydraulic power steering system, which can sometimes present with electrical-type warnings, such as a battery light, if the system fails. It's important to properly diagnose charging system issues to avoid confusing them with the power steering recall problem. Other recalls for this generation relate to the passenger seat airbag sensor and aftermarket lighting, not the charging system.
Frequently Asked Questions (FAQ)
Can I use a Cooper S alternator on my base Cooper?
While physically possible, it is not recommended. The vehicle's electrical system and engine computer are designed for a specific amperage. Using a higher-amp alternator can cause unforeseen issues. It is always best to use the correct part specified for your vehicle model.
How long does an alternator last on a MINI Cooper?
With proper care, a factory OEM alternator can last anywhere from 100,000 to 150,000 miles. However, factors like driving conditions, climate, and electrical load can affect its lifespan. Bearing failure is a common end-of-life issue.
Is it difficult to replace a MINI Cooper alternator myself?
Yes, this is considered a difficult DIY job for a beginner. The main challenge is the lack of space, which requires putting the front end in "service mode." This involves partially disassembling the front of the car. If you are not comfortable with this procedure, it is best left to a professional. The job typically takes 3-5 hours.
What is "service mode"?
"Service mode" is a procedure specific to MINIs where the front bumper and radiator core support are unbolted and slid forward several inches on long guide bolts. This creates a gap between the radiator and the engine, providing the necessary access to components like the alternator and serpentine belt.
Helpful Videos
Technical Specifications
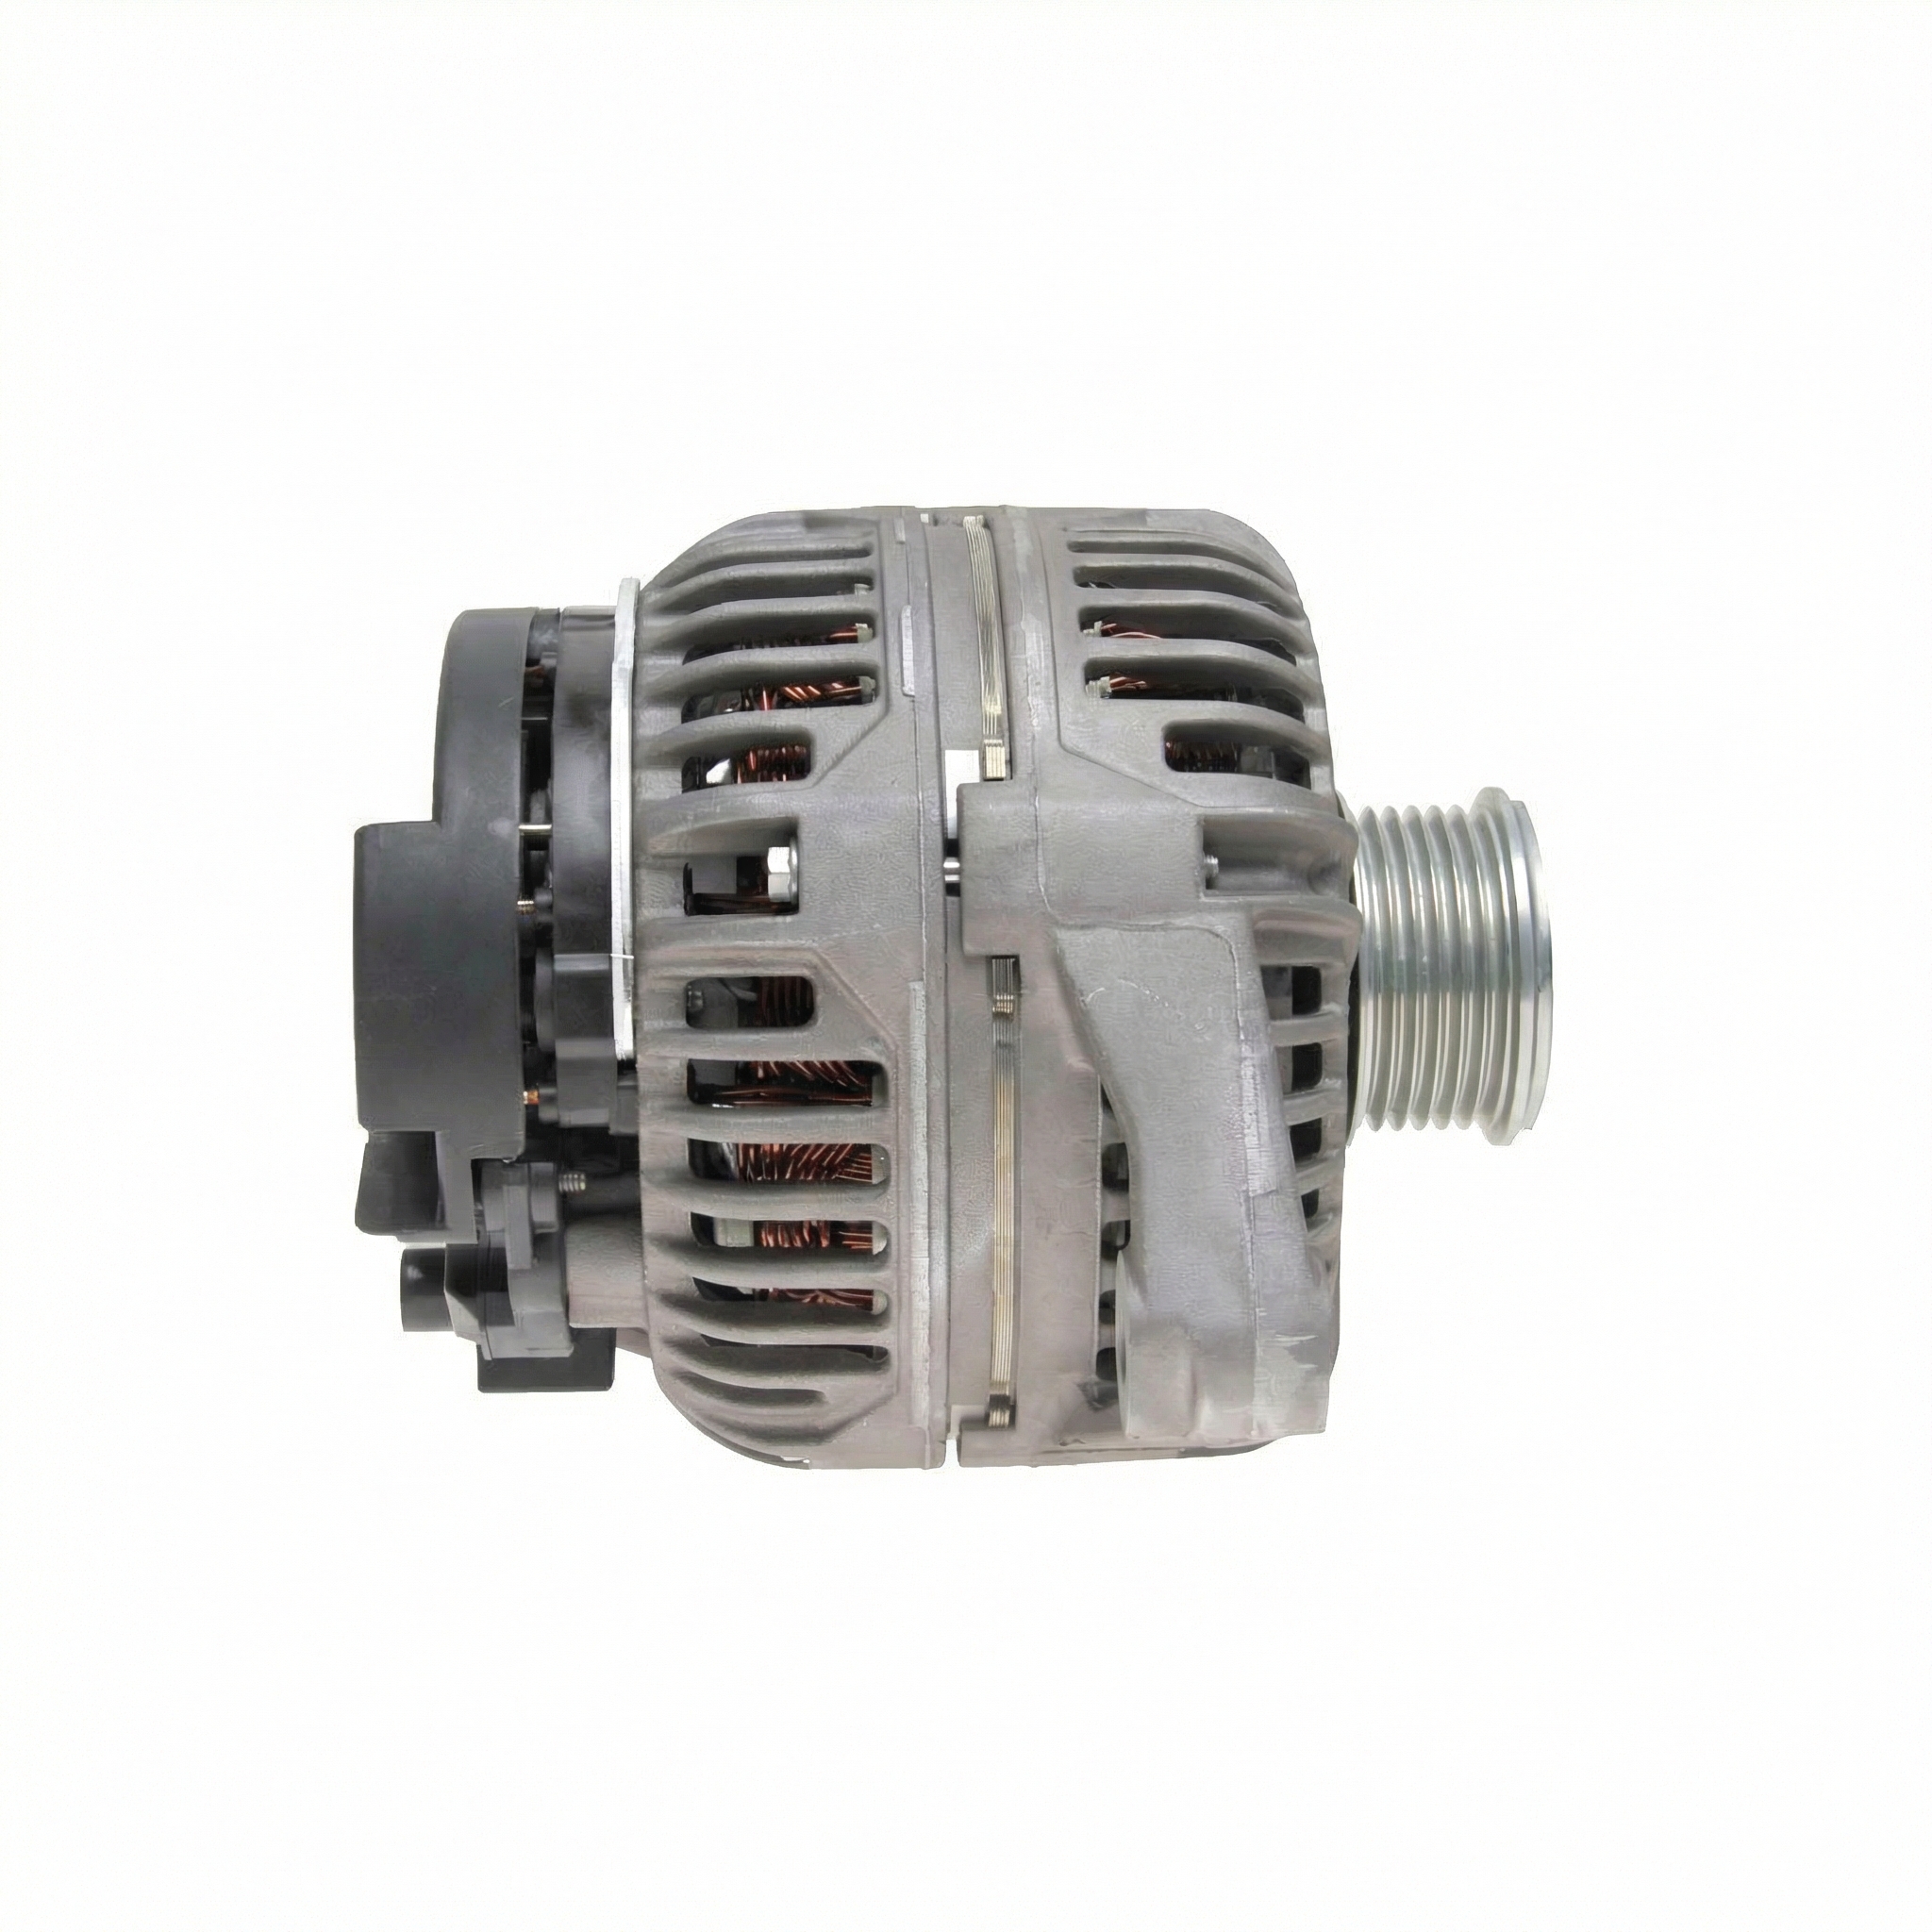
OEM Part Numbers: 12317515029 12317515030 12317515032 12317550319 439617
Base Cooper (R50/R52): 105 Amps. Cooper S (R53/R52): 120 Amps. Both use a 6-groove multi-belt pulley.
We Have This Part in Stock




The information in this article is provided for general reference and educational purposes only. Vehicle specifications, procedures, and part compatibility can vary by production date, trim level, and region. Always consult your vehicle's factory service manual and verify part numbers before purchasing or performing repairs. Safety-critical components such as airbags, seat belts, and braking systems should be installed by a qualified professional.
- MINI Cooper:
- 🎬 Helpful Videos
- 🛍️ Shop This Part
- Key Differences: Base Cooper vs. Cooper S Alternators
- Symptoms of a Failing Alternator
- Noises and Vibrations
- Electrical Symptoms
- Buying a Used OEM Alternator
- Inspection Checklist:
- Replacement Overview and Related Parts
- Cost Comparison
- Known Issues, Recalls, and TSBs
- Frequently Asked Questions (FAQ)
- 🎟️ Get 5% Off